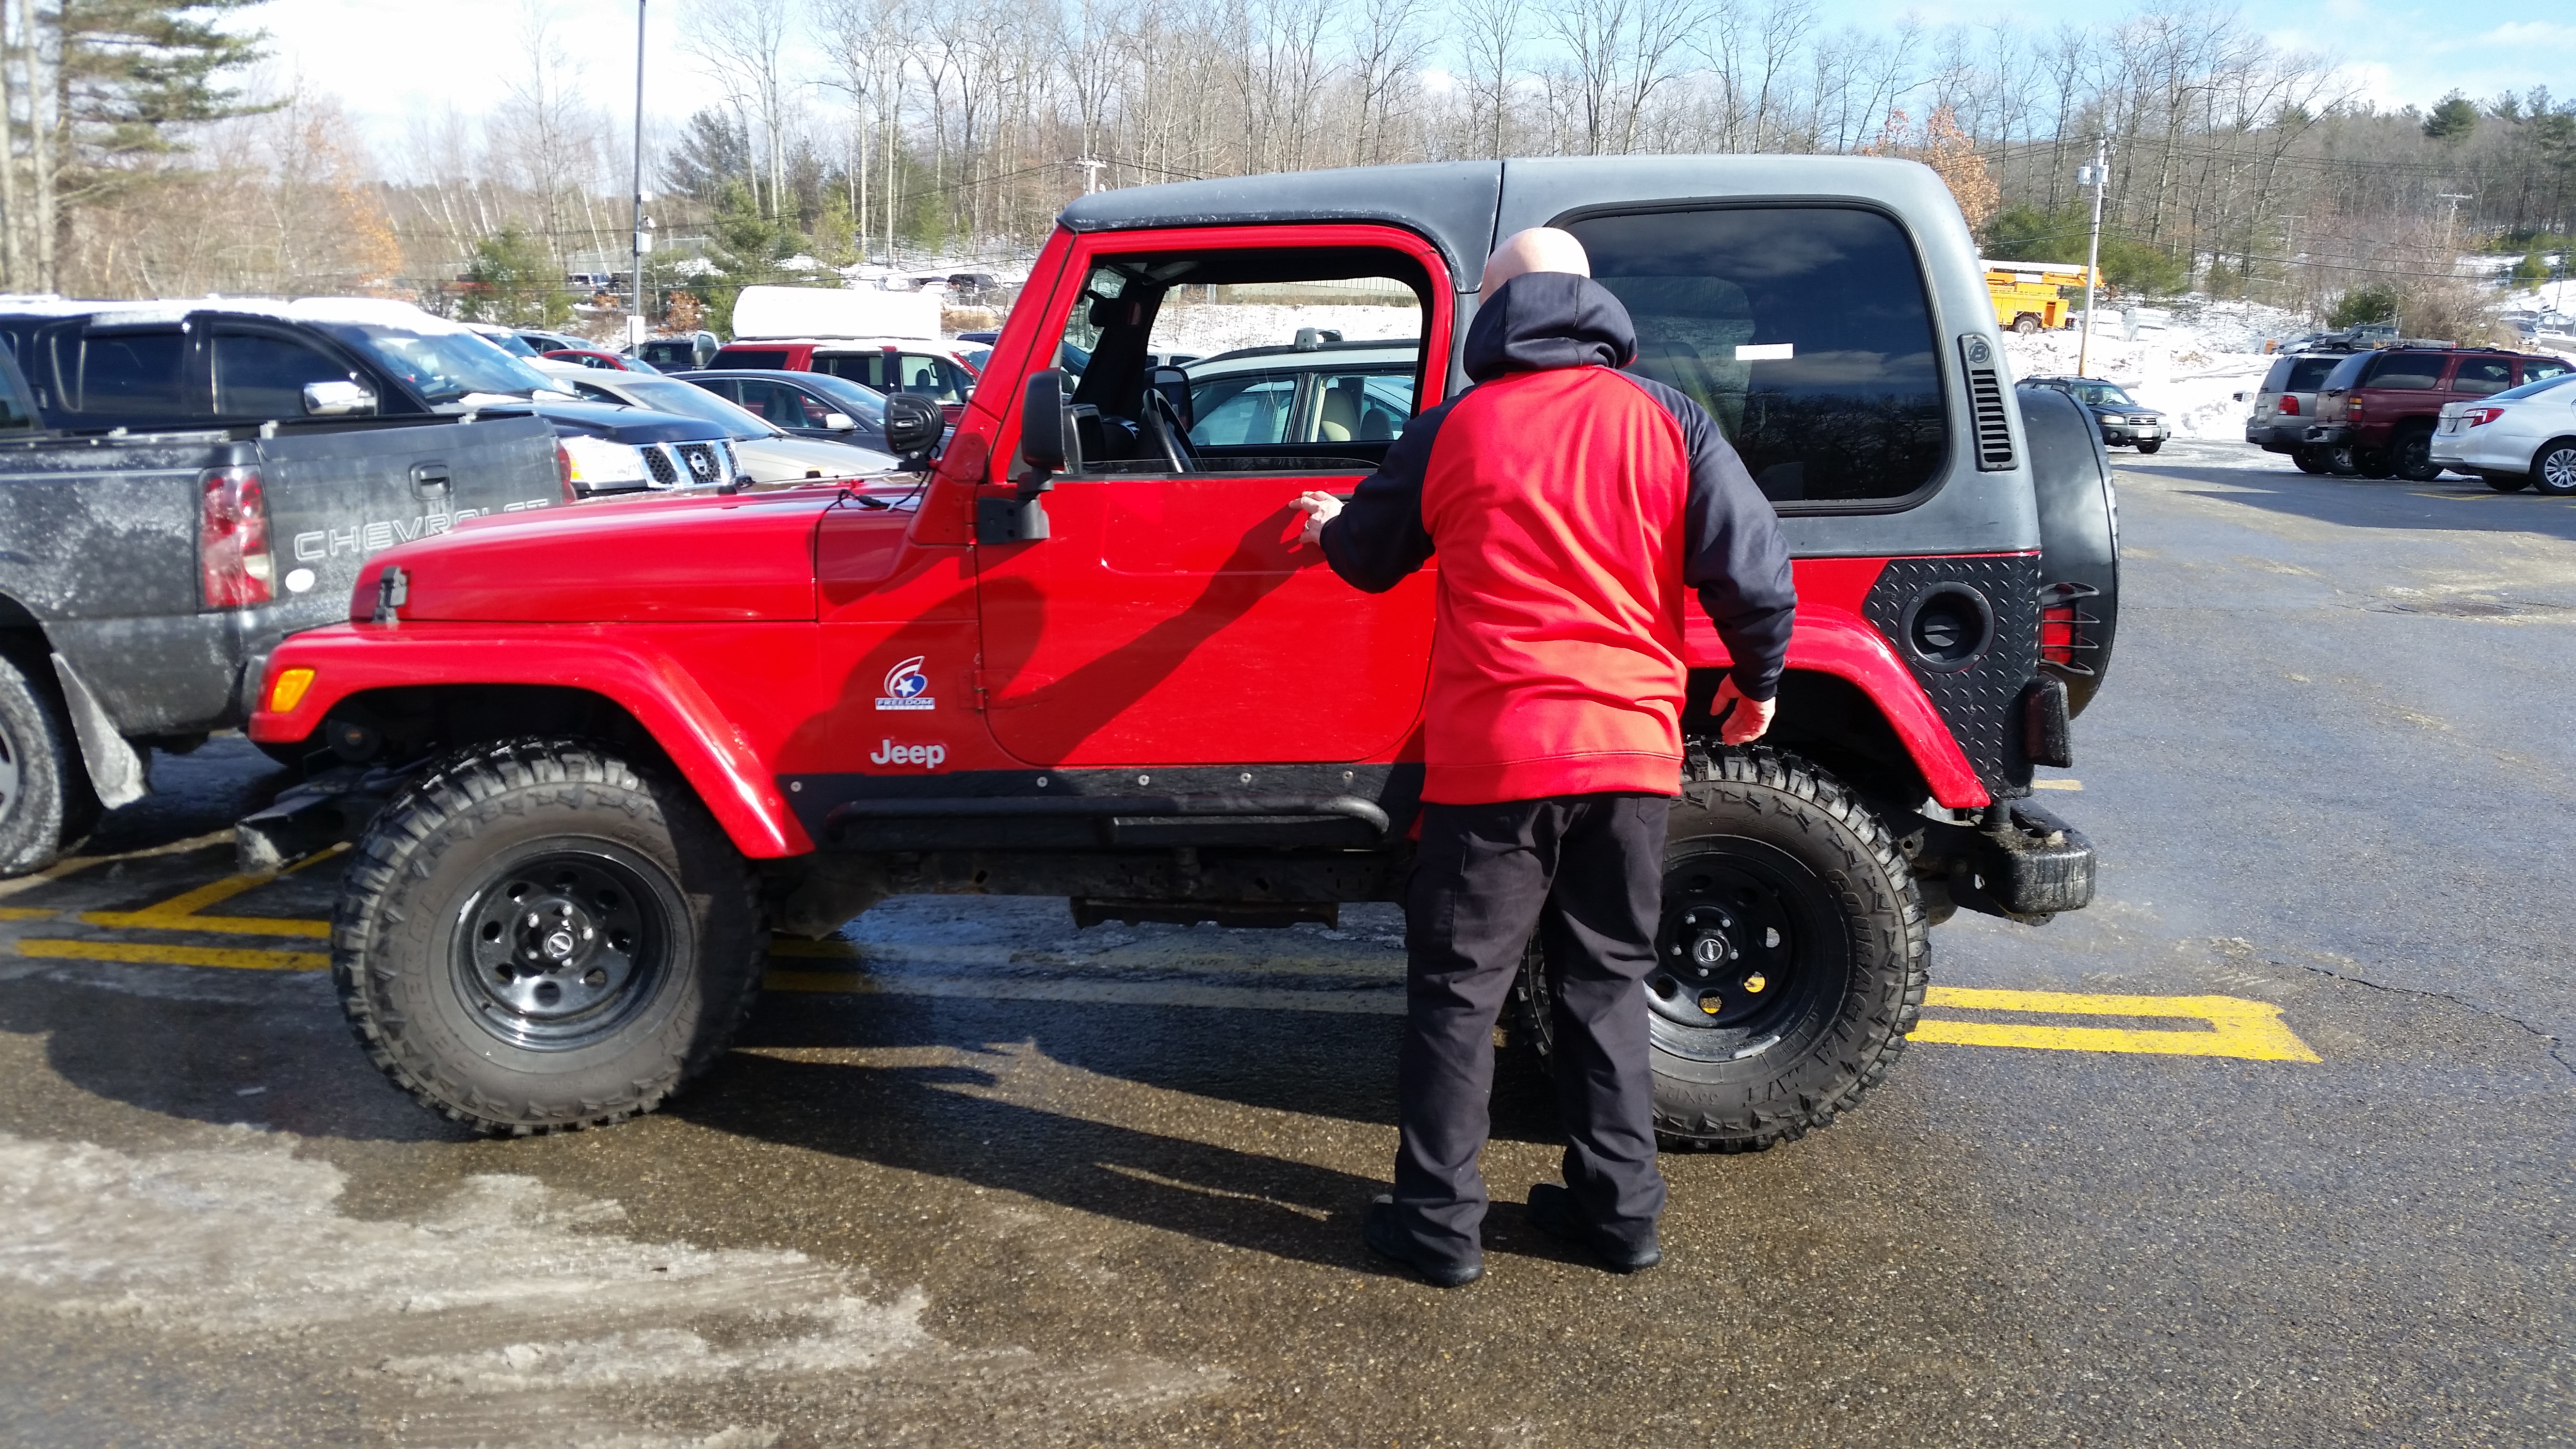
Fig1. WranglersDirect.com’s first TJ! 2003 TJ REDandBlack just like our ‘colors’. How cool is it that our TJ matches our jacket?
Here’s your first look at our soon-to-be-like-new 80,000 mile 2003 Jeep Wrangler TJ Sport Freedom Edition. RED’s powered by the venerable 4.0 liter inline six cylinder engine and the highly sought after 5-speed manual transmission. She looks awesome from the outside but don’t they all? Notice the Red and Black theme going on already. That hoodie and this matching TJ are both representing the WranglersDirect “colors” so we just knew that our purchase was meant to be. Once she was ours, we began to treat her like one of the family. We’ve decided to call her RED and we couldn’t wait to get her back to our “Wrehab Lab” at WranglersDirect to see what exciting things she is going to teach us as we embark on this incredible journey TOGETHER. We hope that you”ll join us for all the challenges and fun we’ll encounter as these TJs usually teach us quite a few lessons along the way.
That first drive back is always exciting (and somewhat terrifying, too). Remember, RED is a 15-year old vehicle from the surrounding New England area. Taking her home for the first time isn’t just a simple check the gas gauge and drive her home. Fortunately, the engine sounded great, the clutch shifted smoothly, and the brakes…well, she could stop but we knew there was work to do there, for sure. RED turned out to be pretty close to all that we hoped for.
Once we had her in the shop, we began our thorough WranglersDirect ‘physical’…and she looked an awful lot better than she actually was…she had some ‘cancer’ (i.e., RUST!). We needed to get her into treatment ASAP! Let’s start our RED’s JOURNEY here…
- These next few pictures show what we needed to cut out in order to replace the floor pan on the passenger side. The challenge is always to find out where the rot ends and the good metal begins…nothing is ever simple (or FAST or CHEAP) with rust repair. The driver’s side had already been done by the previous owner, and although it isn’t how WranglersDirect.com does floor pan replacements, it wasn’t necessary (or cost-effective) to re-do the work since it’ll hold up well enough and give the next owner plenty of fun-filled years Jeepin’…
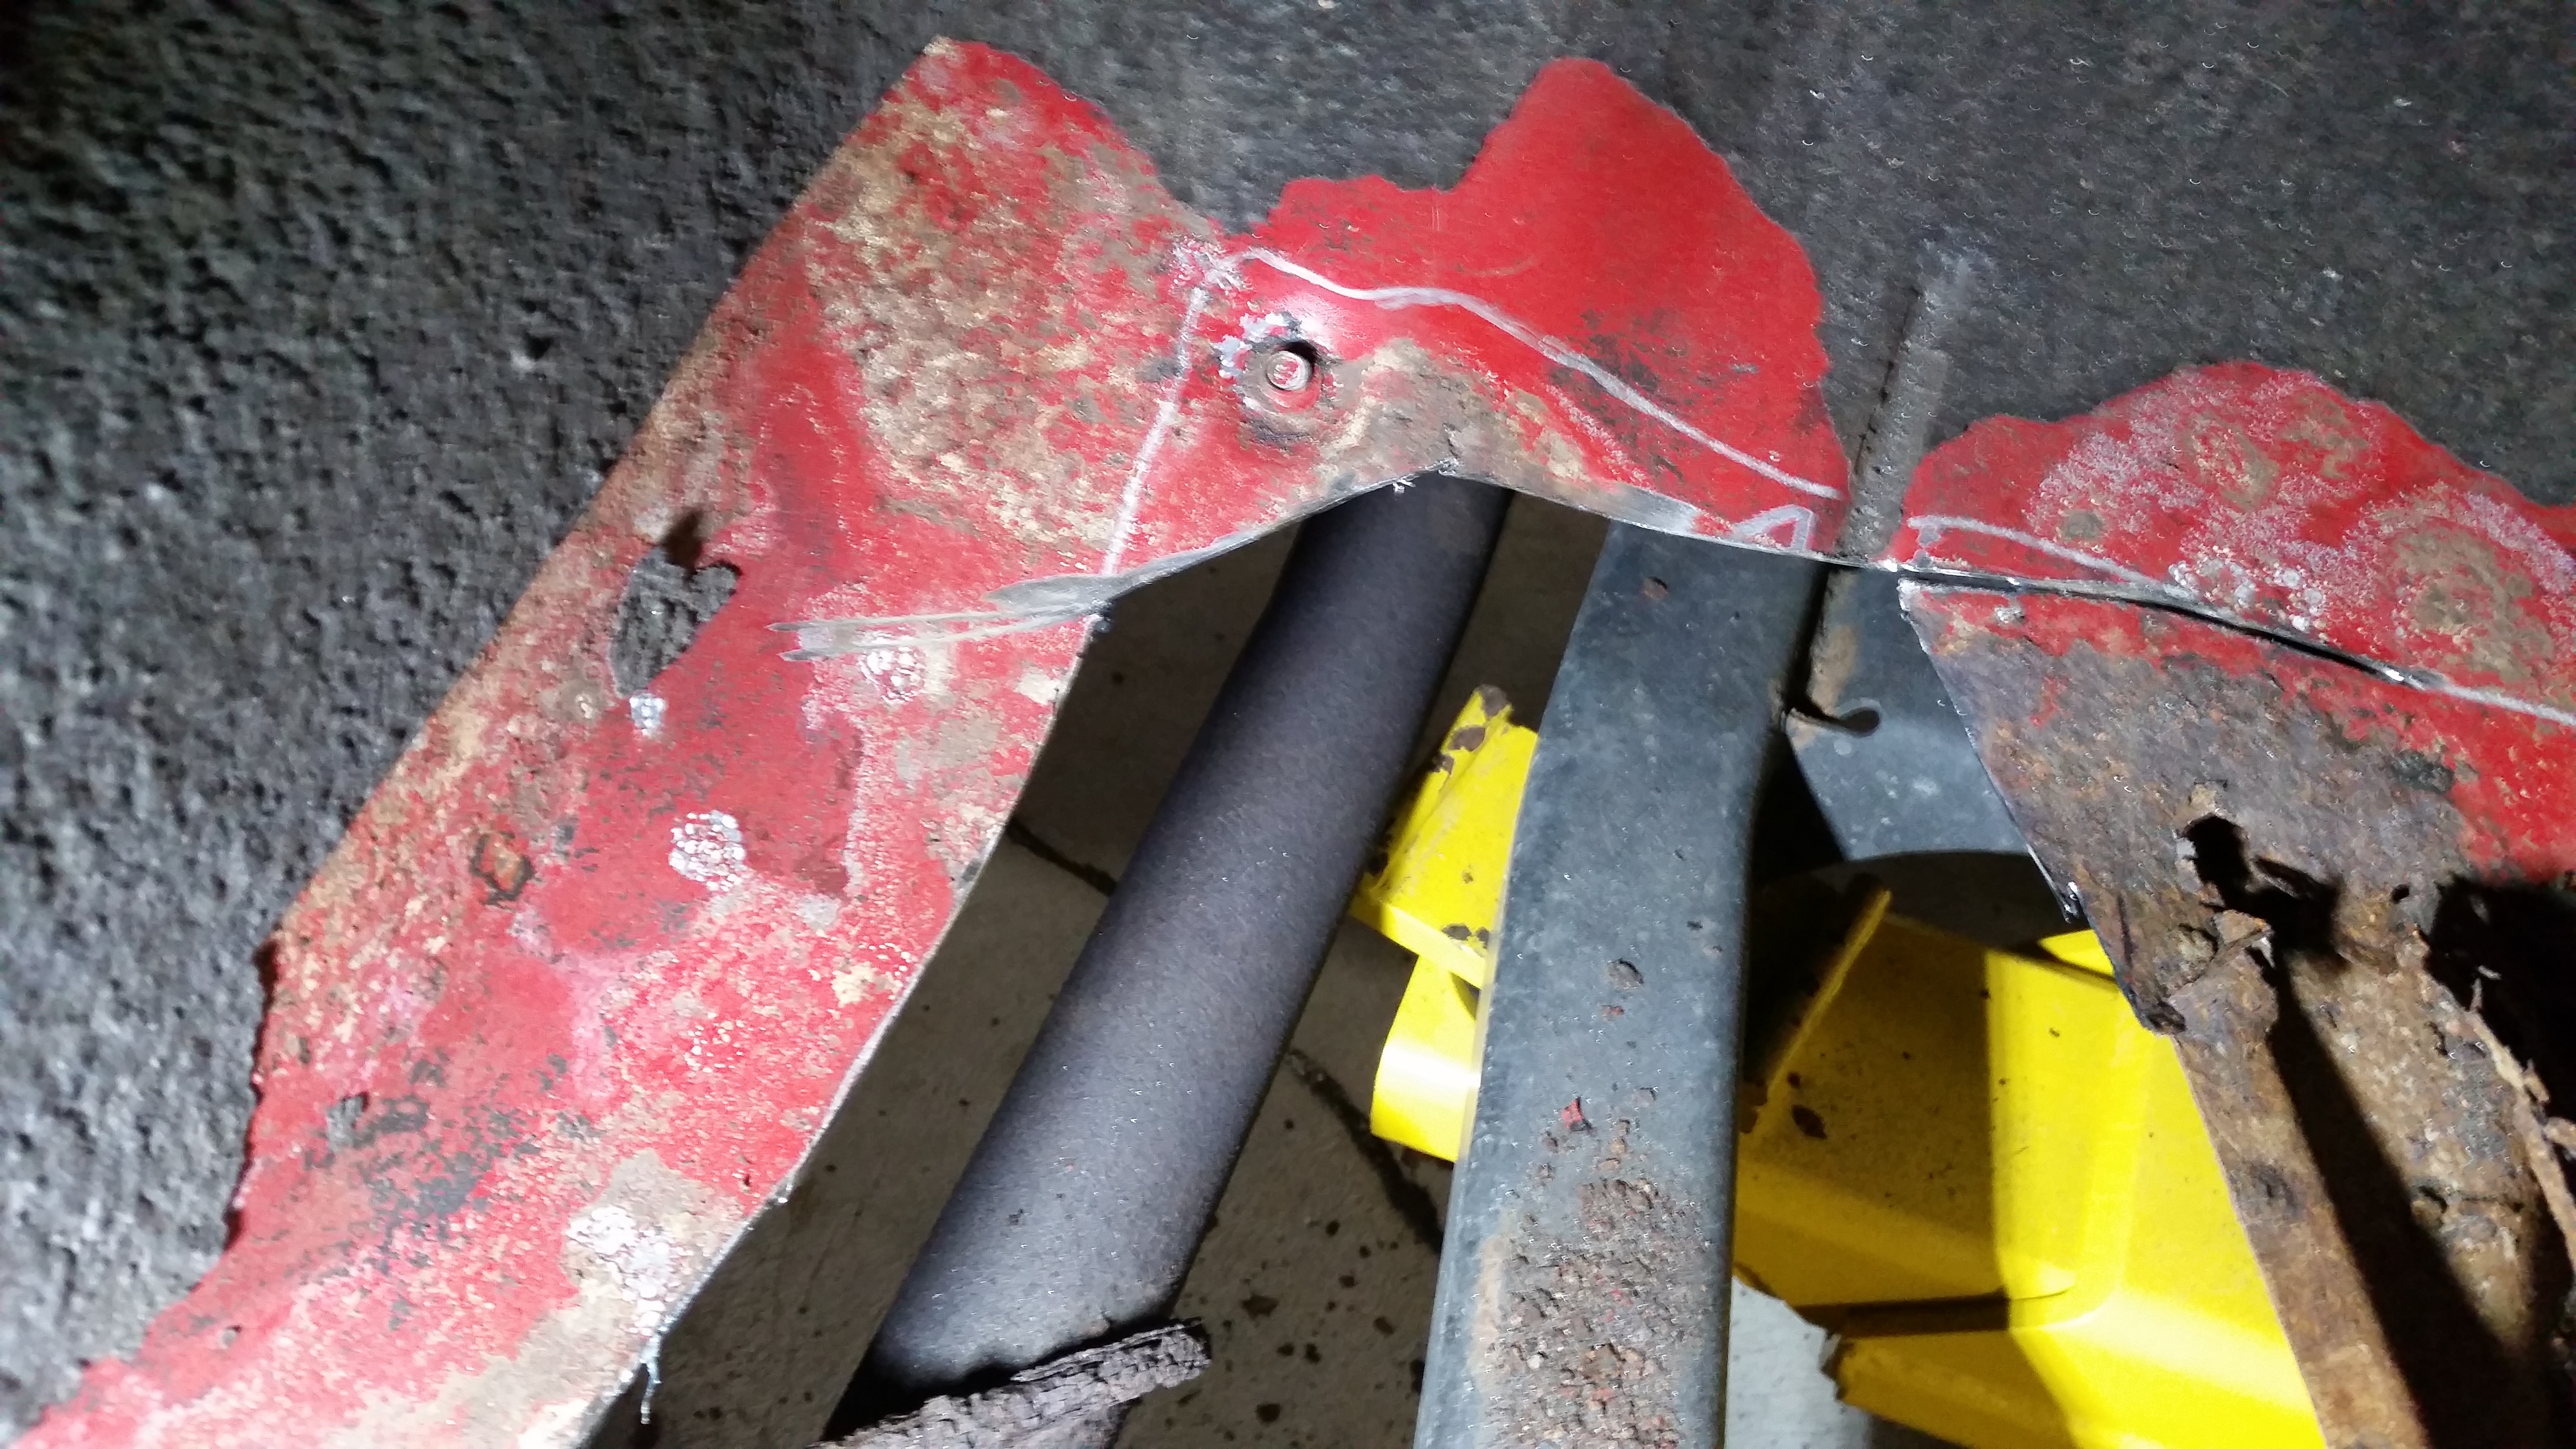
Fig 2. 2003WranglerTJ_Another view of cut out passenger floor pan

Fig 3. 2003 Wrnagler TJ – Rotted passenger floor
2. But this wasn’t the only area that concerned us. We had several spots behind the driver’s floor area where the seat bolted to and nearby. WD hates rust and we were on a mission to save RED from its ravages…

Fig 4. 2003 Wrangler TJ – Two rot areas under driver’s seat.

Fig 5. 2003 Wrangler TJ – Rotted section along rocker area at driver’s seat.

Fig 6. 2003 Wrangler TJ – Rot found near emergency brake mount that had to go.
3. With hindsight being as sharp as it is and looking toward the future, we plan to use the repair panels offered for TJs more…front/rear, driver/passenger floor pans…instead of crafting our own repair panels if we feel that full-replacement outweighs individual panels based on how much time each approach would take. For our customers, it’s always about delivering excellent quality at reasonable prices and as we all know, time is money.
4. These next several shots will show the repair panels fitted, welded, and the welds ground down in preparation for bed-lining the entire interior. The former owner had bed-lined the interior at some point in the past and makes a lot of sense if your Wrangler will get plenty of off-road time. It offers a very durable surface, can be easily hosed out, and still gives the interior a finished quality.

Fig. 7 2003 Wrangler TJ – Passenger floor pan patch panel being fitted.

Fig. 8 2003 Wrangler TJ – Another view of passenger floor patch panel being fitted.

Fig. 9 2003 Wrangler TJ – Several hundred tack welds later and the passenger floor pan patch panel is welded in.

Fig. 10 2003 Wrangler TJ – The welds are ground smooth and any holes filled in preparation for seam sealer.
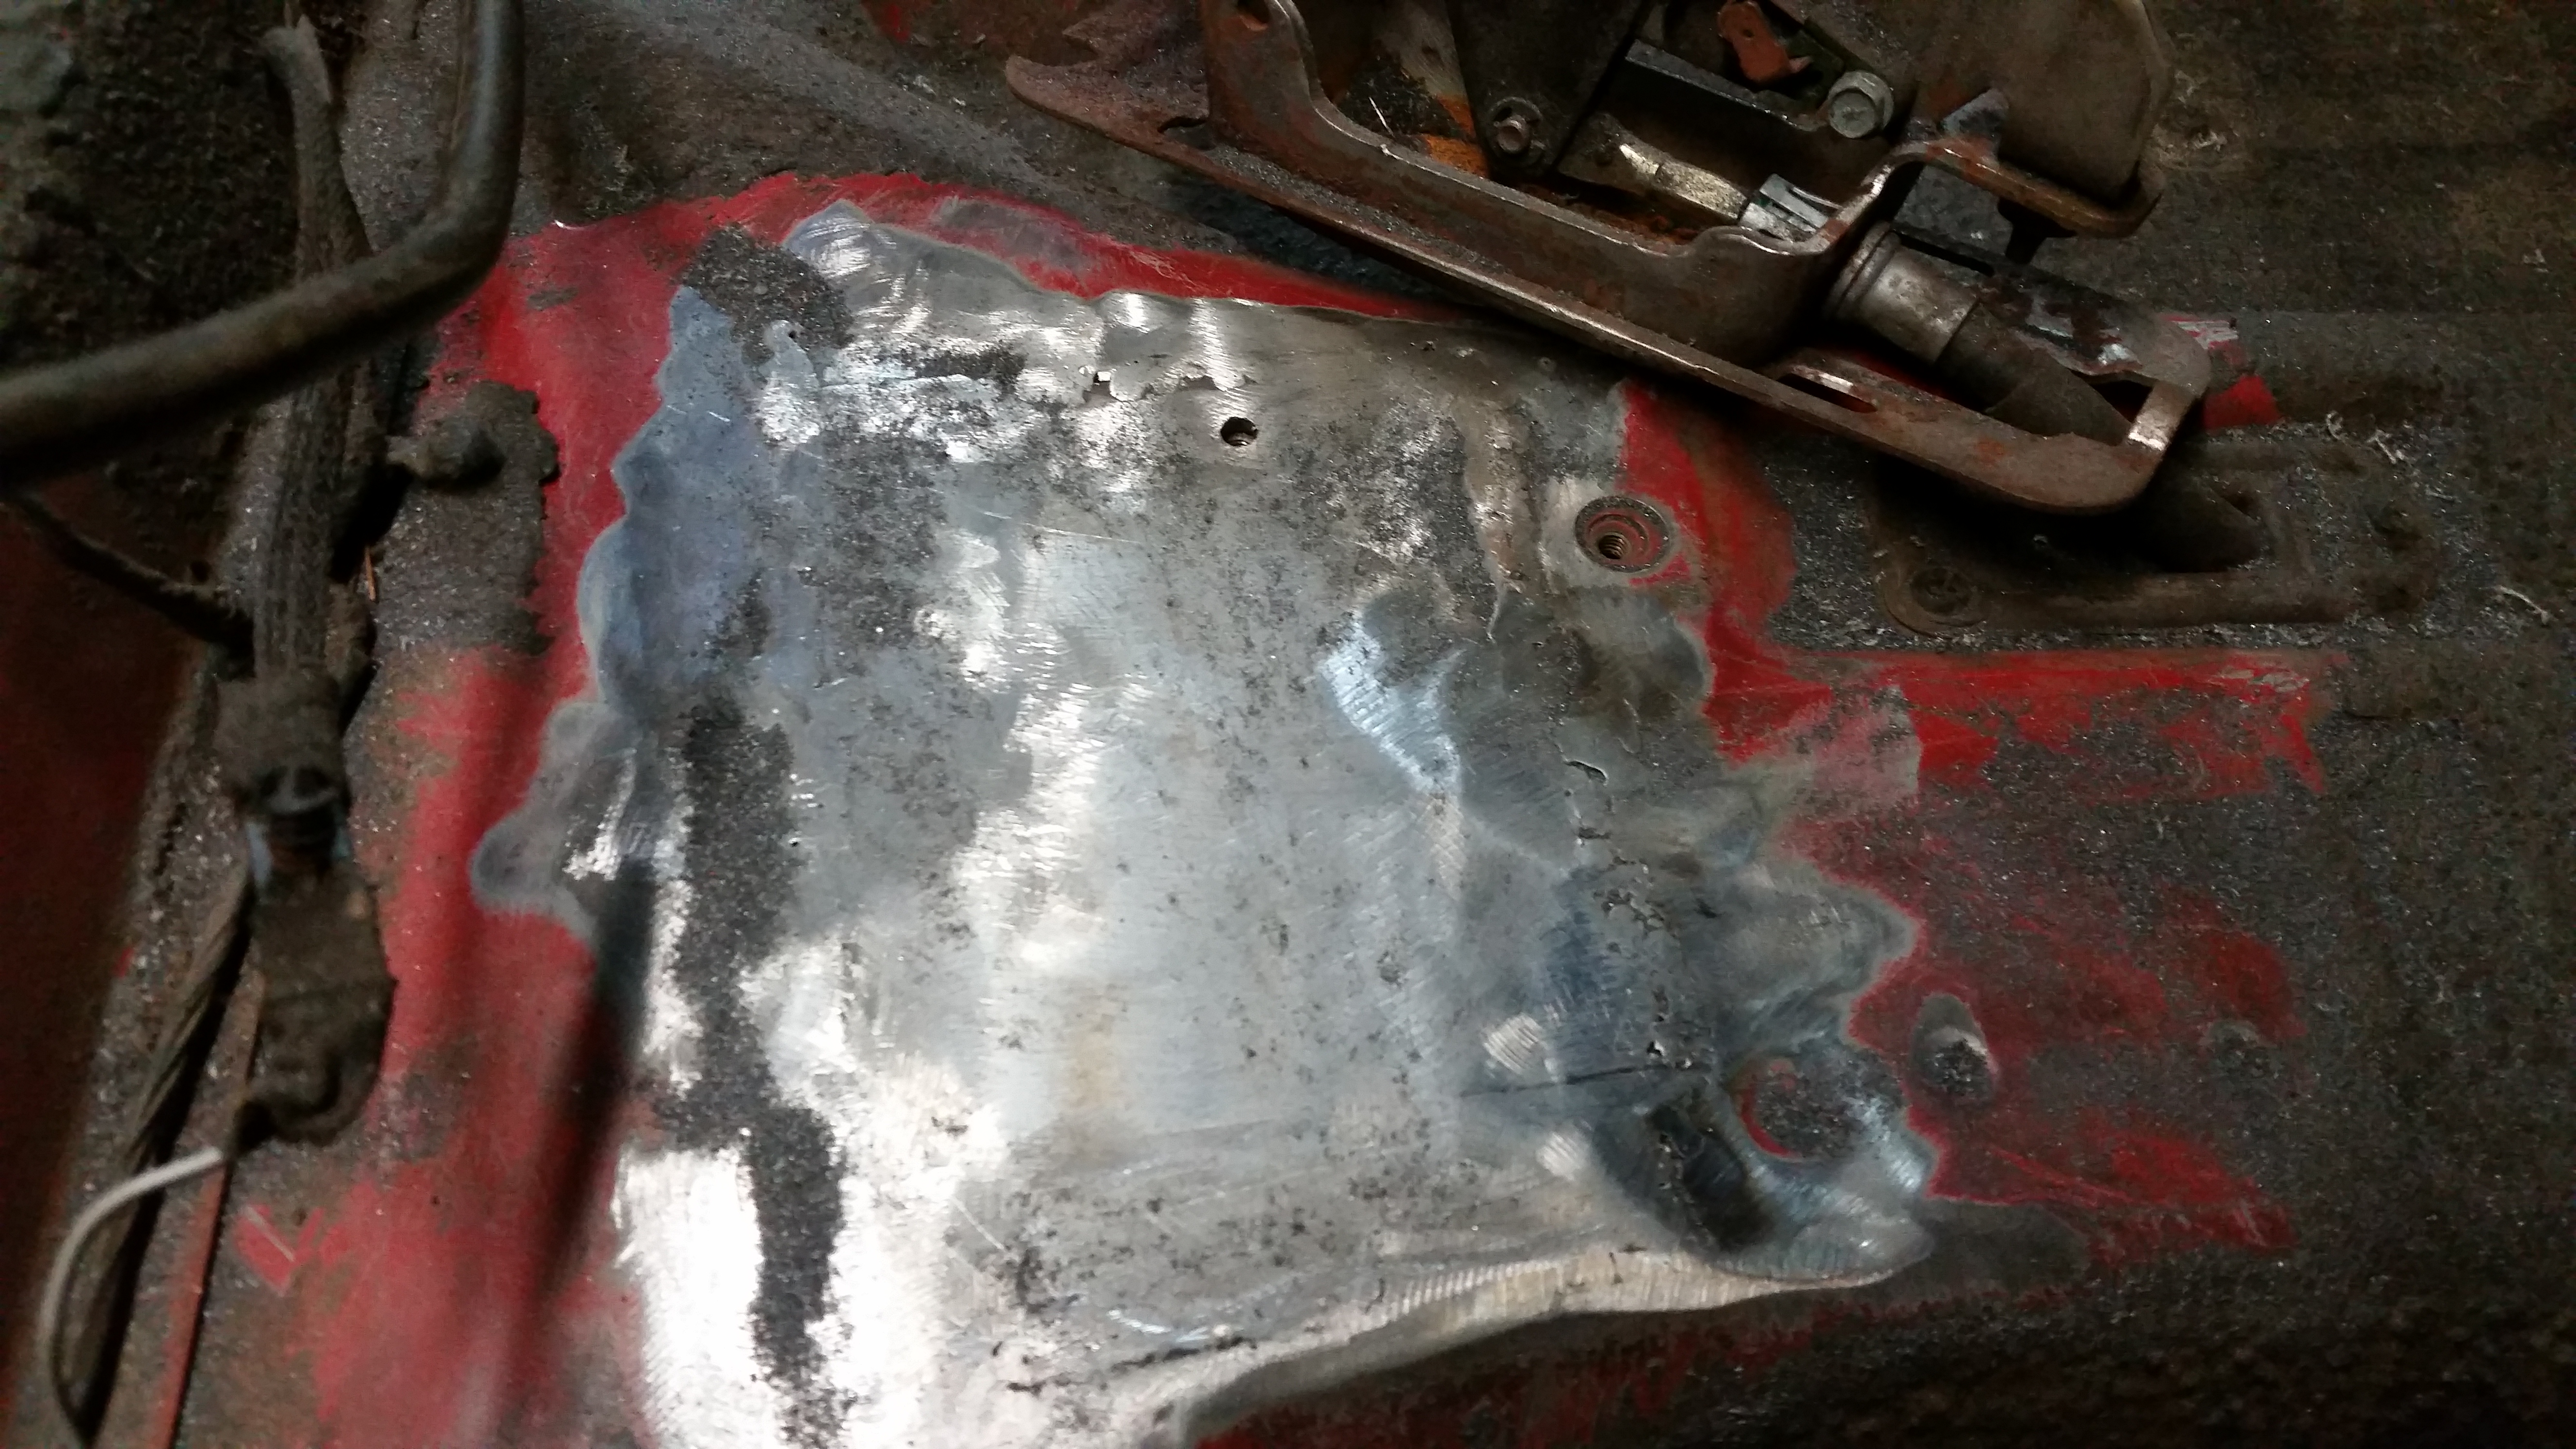
Fig. 11 2003 Wrangler TJ – Patched area near e-brake handle welded and ground smooth.
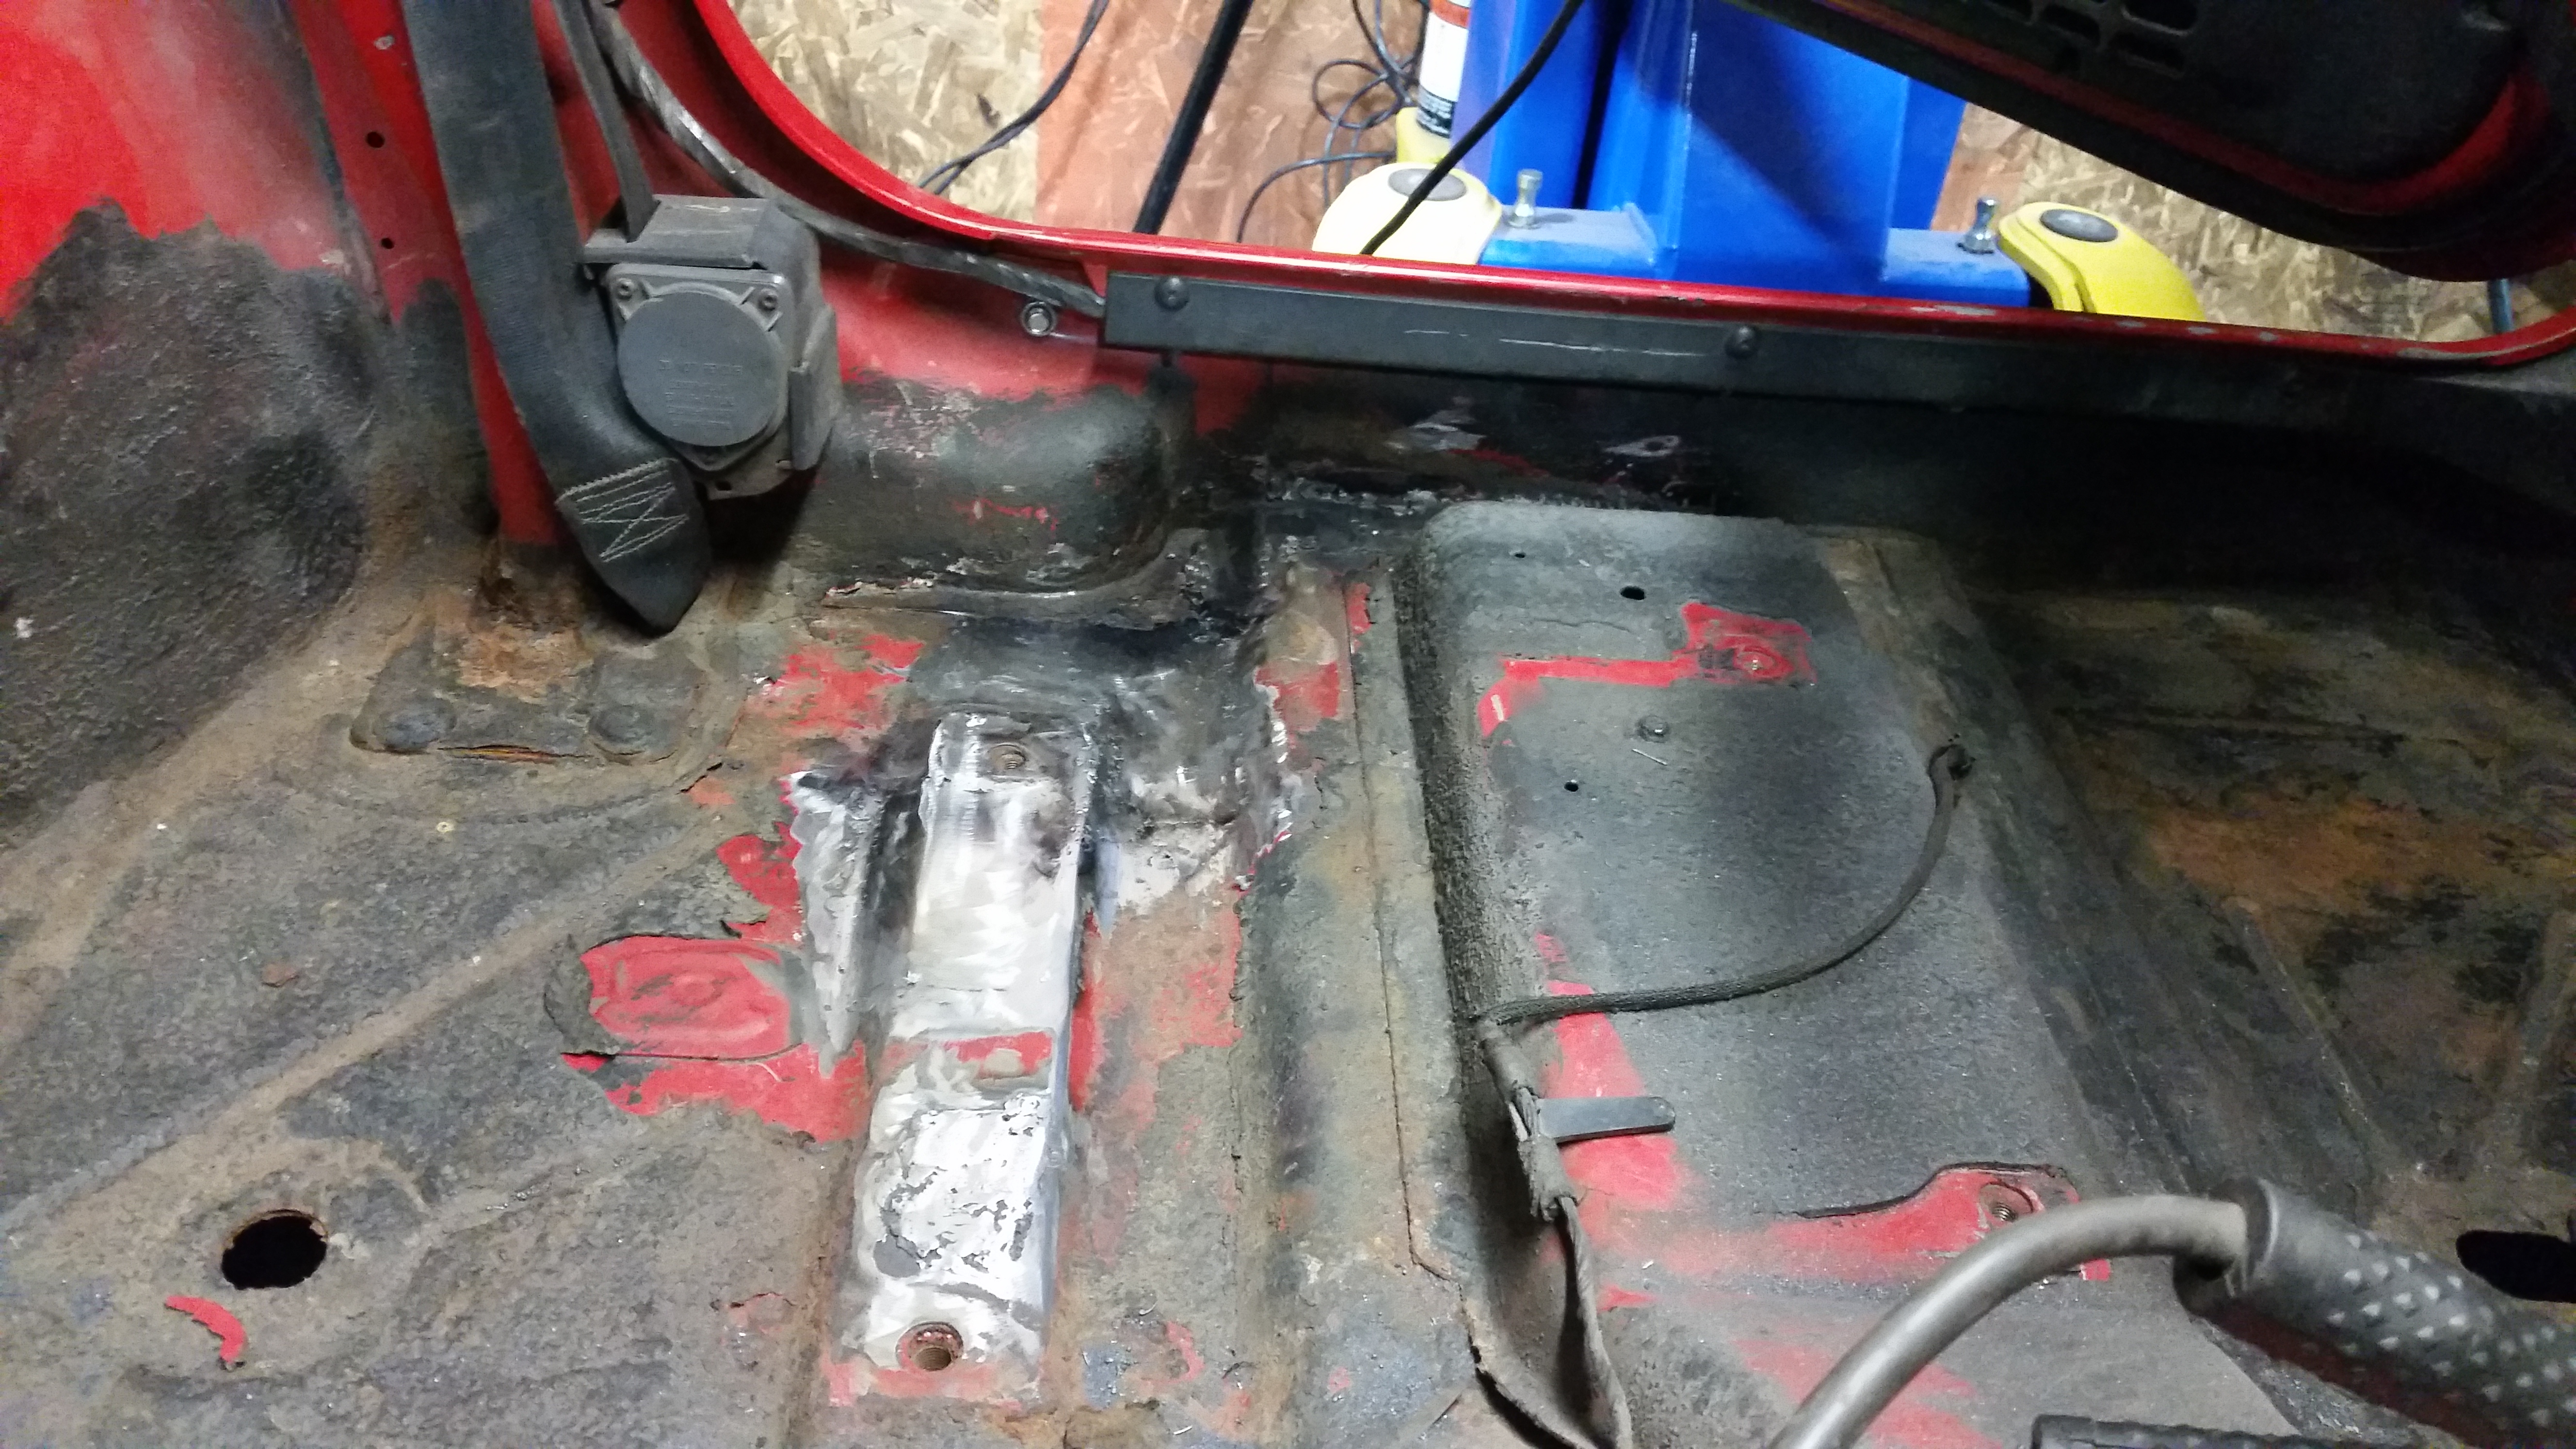
Fig. 12 2003 Wrangler TJ – Patches under driver’s seat and at rocker area welded and ground smooth.
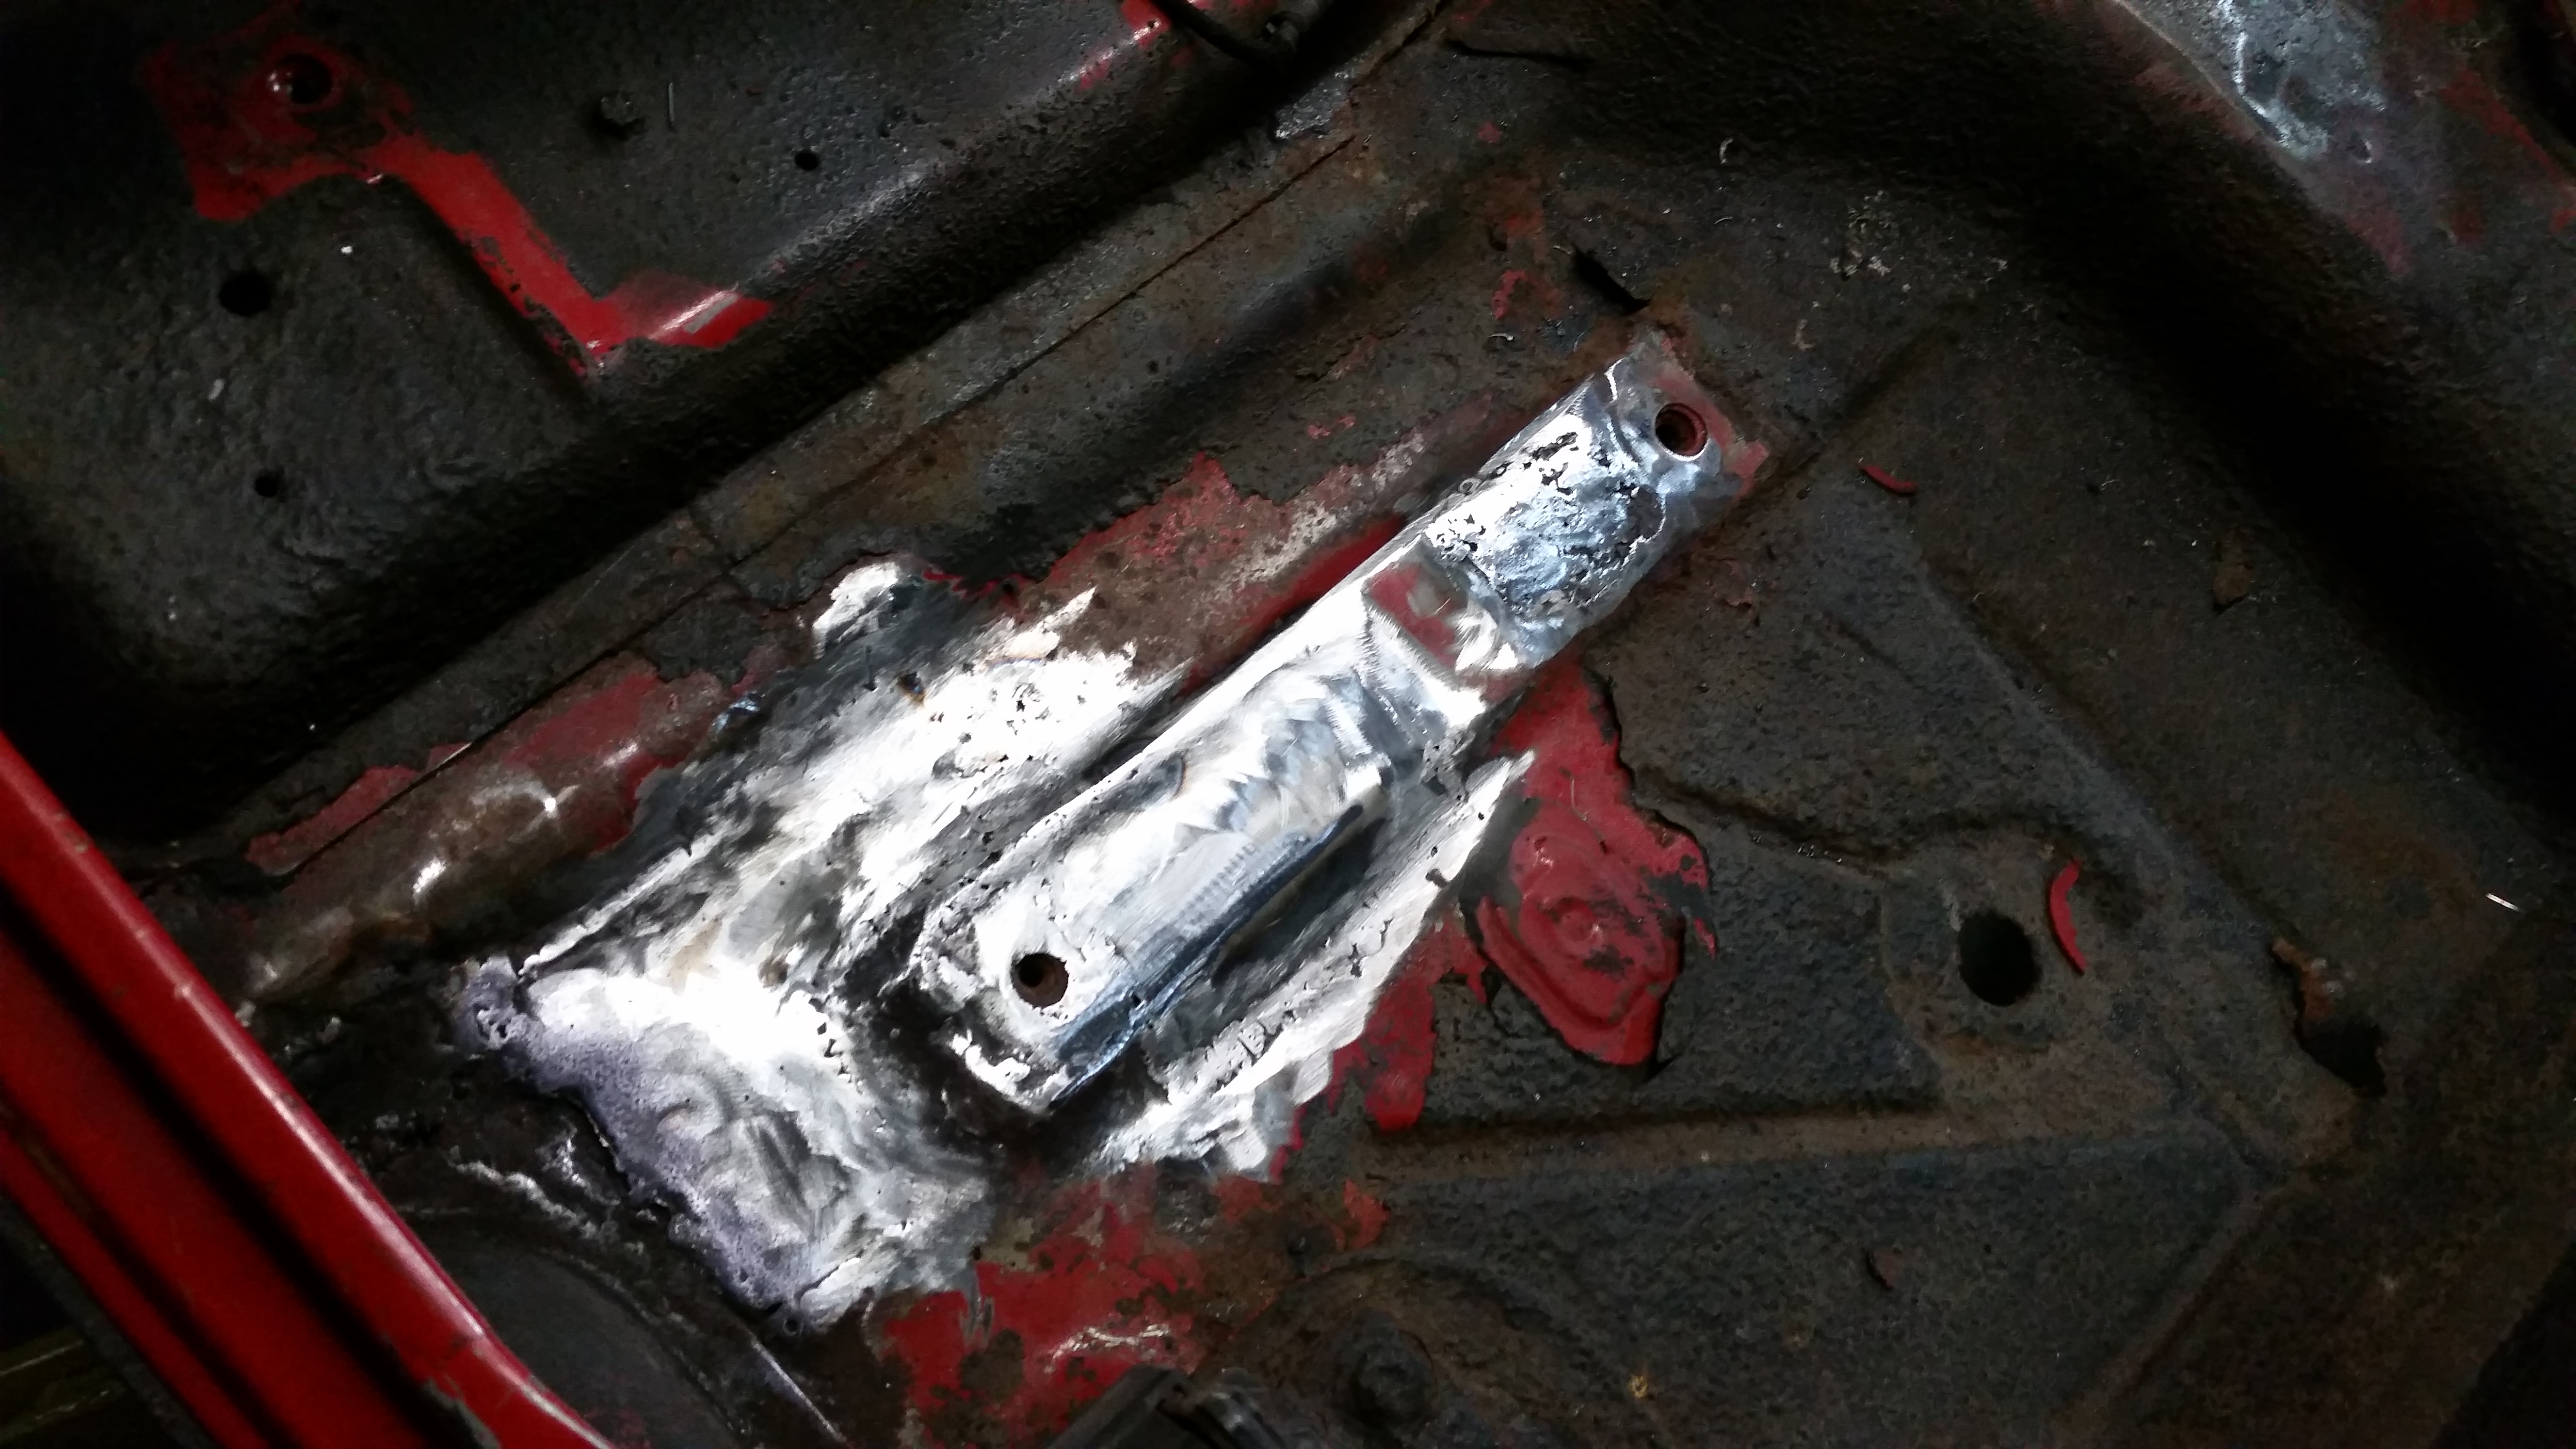
Fig. 13 2003 Wrangler TJ – Patches under driver’s seat welded in and ground smooth.
5. Part of our process for repairing RED’s ‘cancer’ involved removing all of the old bedliner from the previous owner. Further back behind the driver’s seat was more rot at the drain hole…we needed to cut that out and yes, make another patch panel, and weld in good metal. This was where we would’ve liked to have known about ALL the rot beforehand so that we could’ve just replaced the entire rear floor panel instead of spending all that time making individual patch panels. We’re just glad that we found it!

Fig 14. 2003 Wrangler TJ – More rot behind driver’s seat discovered after old bedliner was removed. Time for another patch.

Fig. 15 2003 Wrangler TJ – Rot gets cut out from behind driver’s seat.

Fig. 16 2003 Wrangler TJ – Patch panel cut-to-fit.

Fig. 17 2003 Wrangler TJ – Patch panel welded in and ground smooth behind driver’s seat.
6. After WD finished repairing the ‘cancer’ inside RED, we moved our attention to RED’s exterior. There were a couple of questionable blisters on both fenders and surrounding area that we needed to investigate and determine what it would take to fix these. The blister on the passenger side fender only turned out to be surface rust that started to scale and wouldn’t need to be patched (YEA! One small victory…). But, on the driver’s side, things were different. We found three spots of true ‘cancer’ and cut out the bad areas in order to weld in fresh metal. You’ll see how nice things came out and RED’s exterior has been given a new lease on life. Remarkably, we didn’t find any other issues with RED’s body after we got rid of her cancer. Long live RED!!!!

Fig. 18 2003 Wrangler TJ – Blistered area on top of passenger front fender ended up being surface scale so repair will be simple.

Fig. 19 2003 Wrangler TJ – Blister on passenger front fender sanded, rust-treated, primed for body work and paint.

Fig. 20 2003 Wrangler TJ – Driver front fender front needed a patch so we made one for the fix.
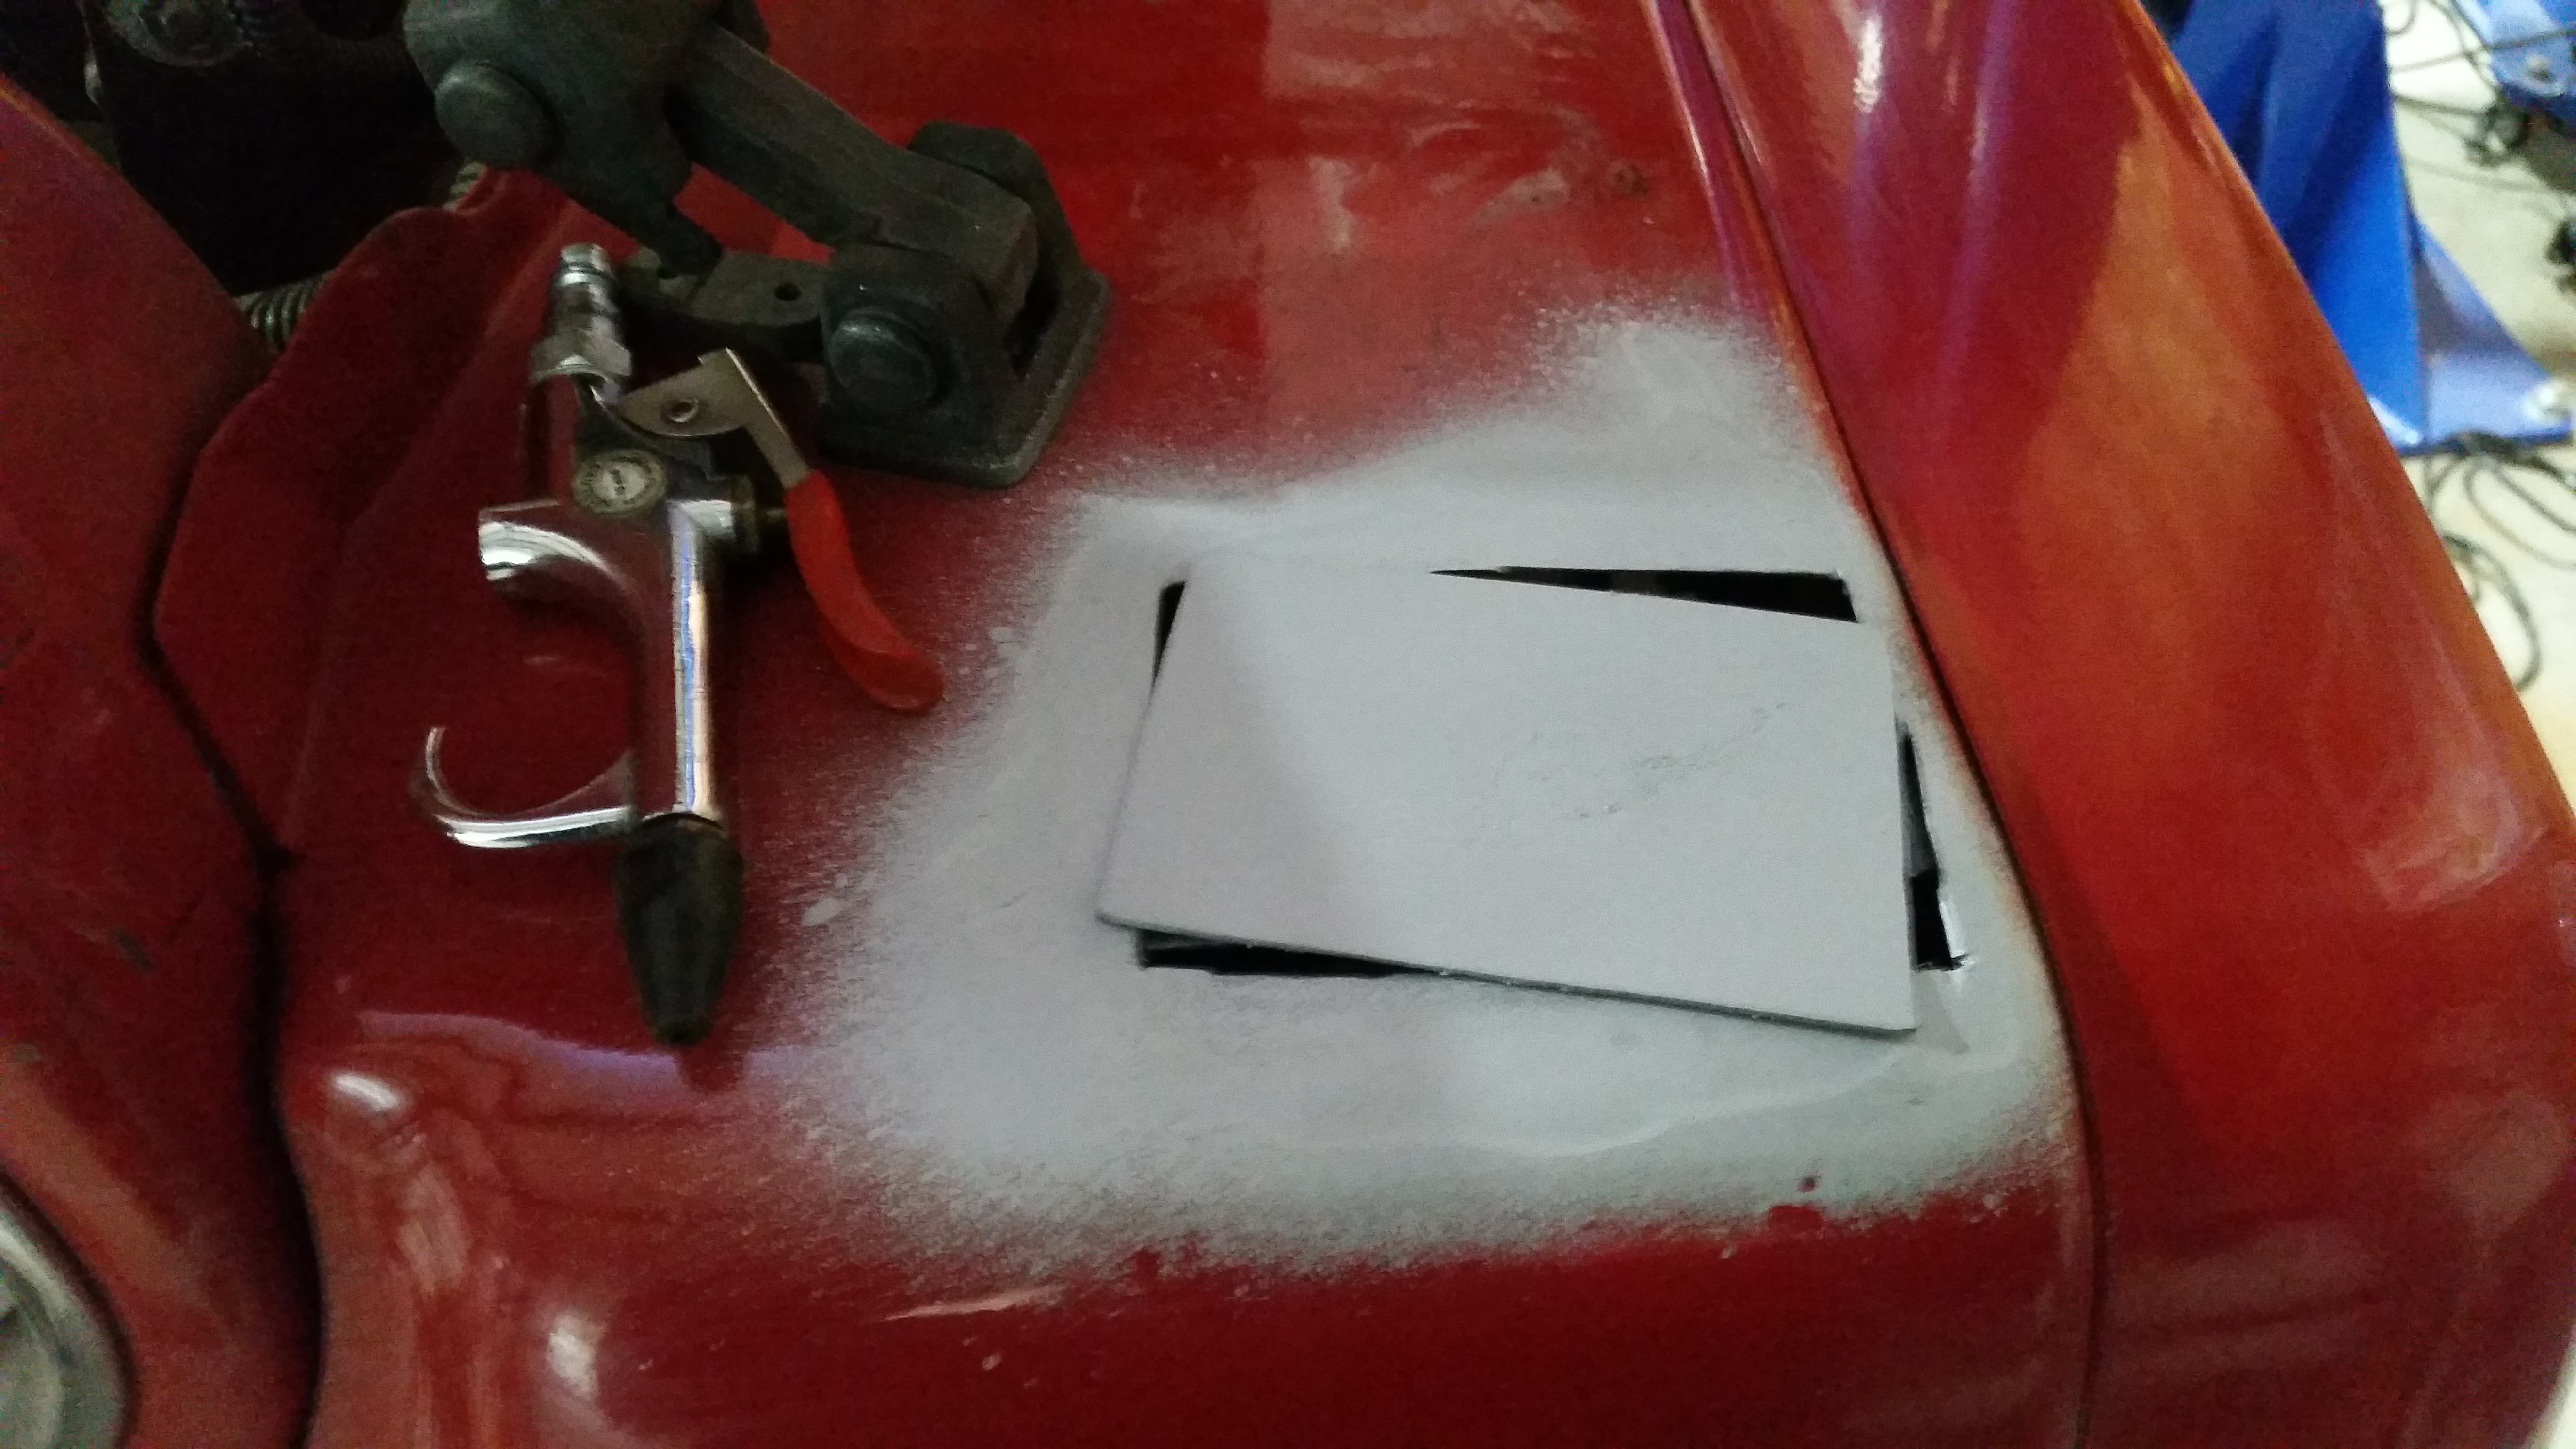
Fig. 21 2003 Wrangler TJ – Prepped for welding with weld-through primer to protect the metal from future rot.
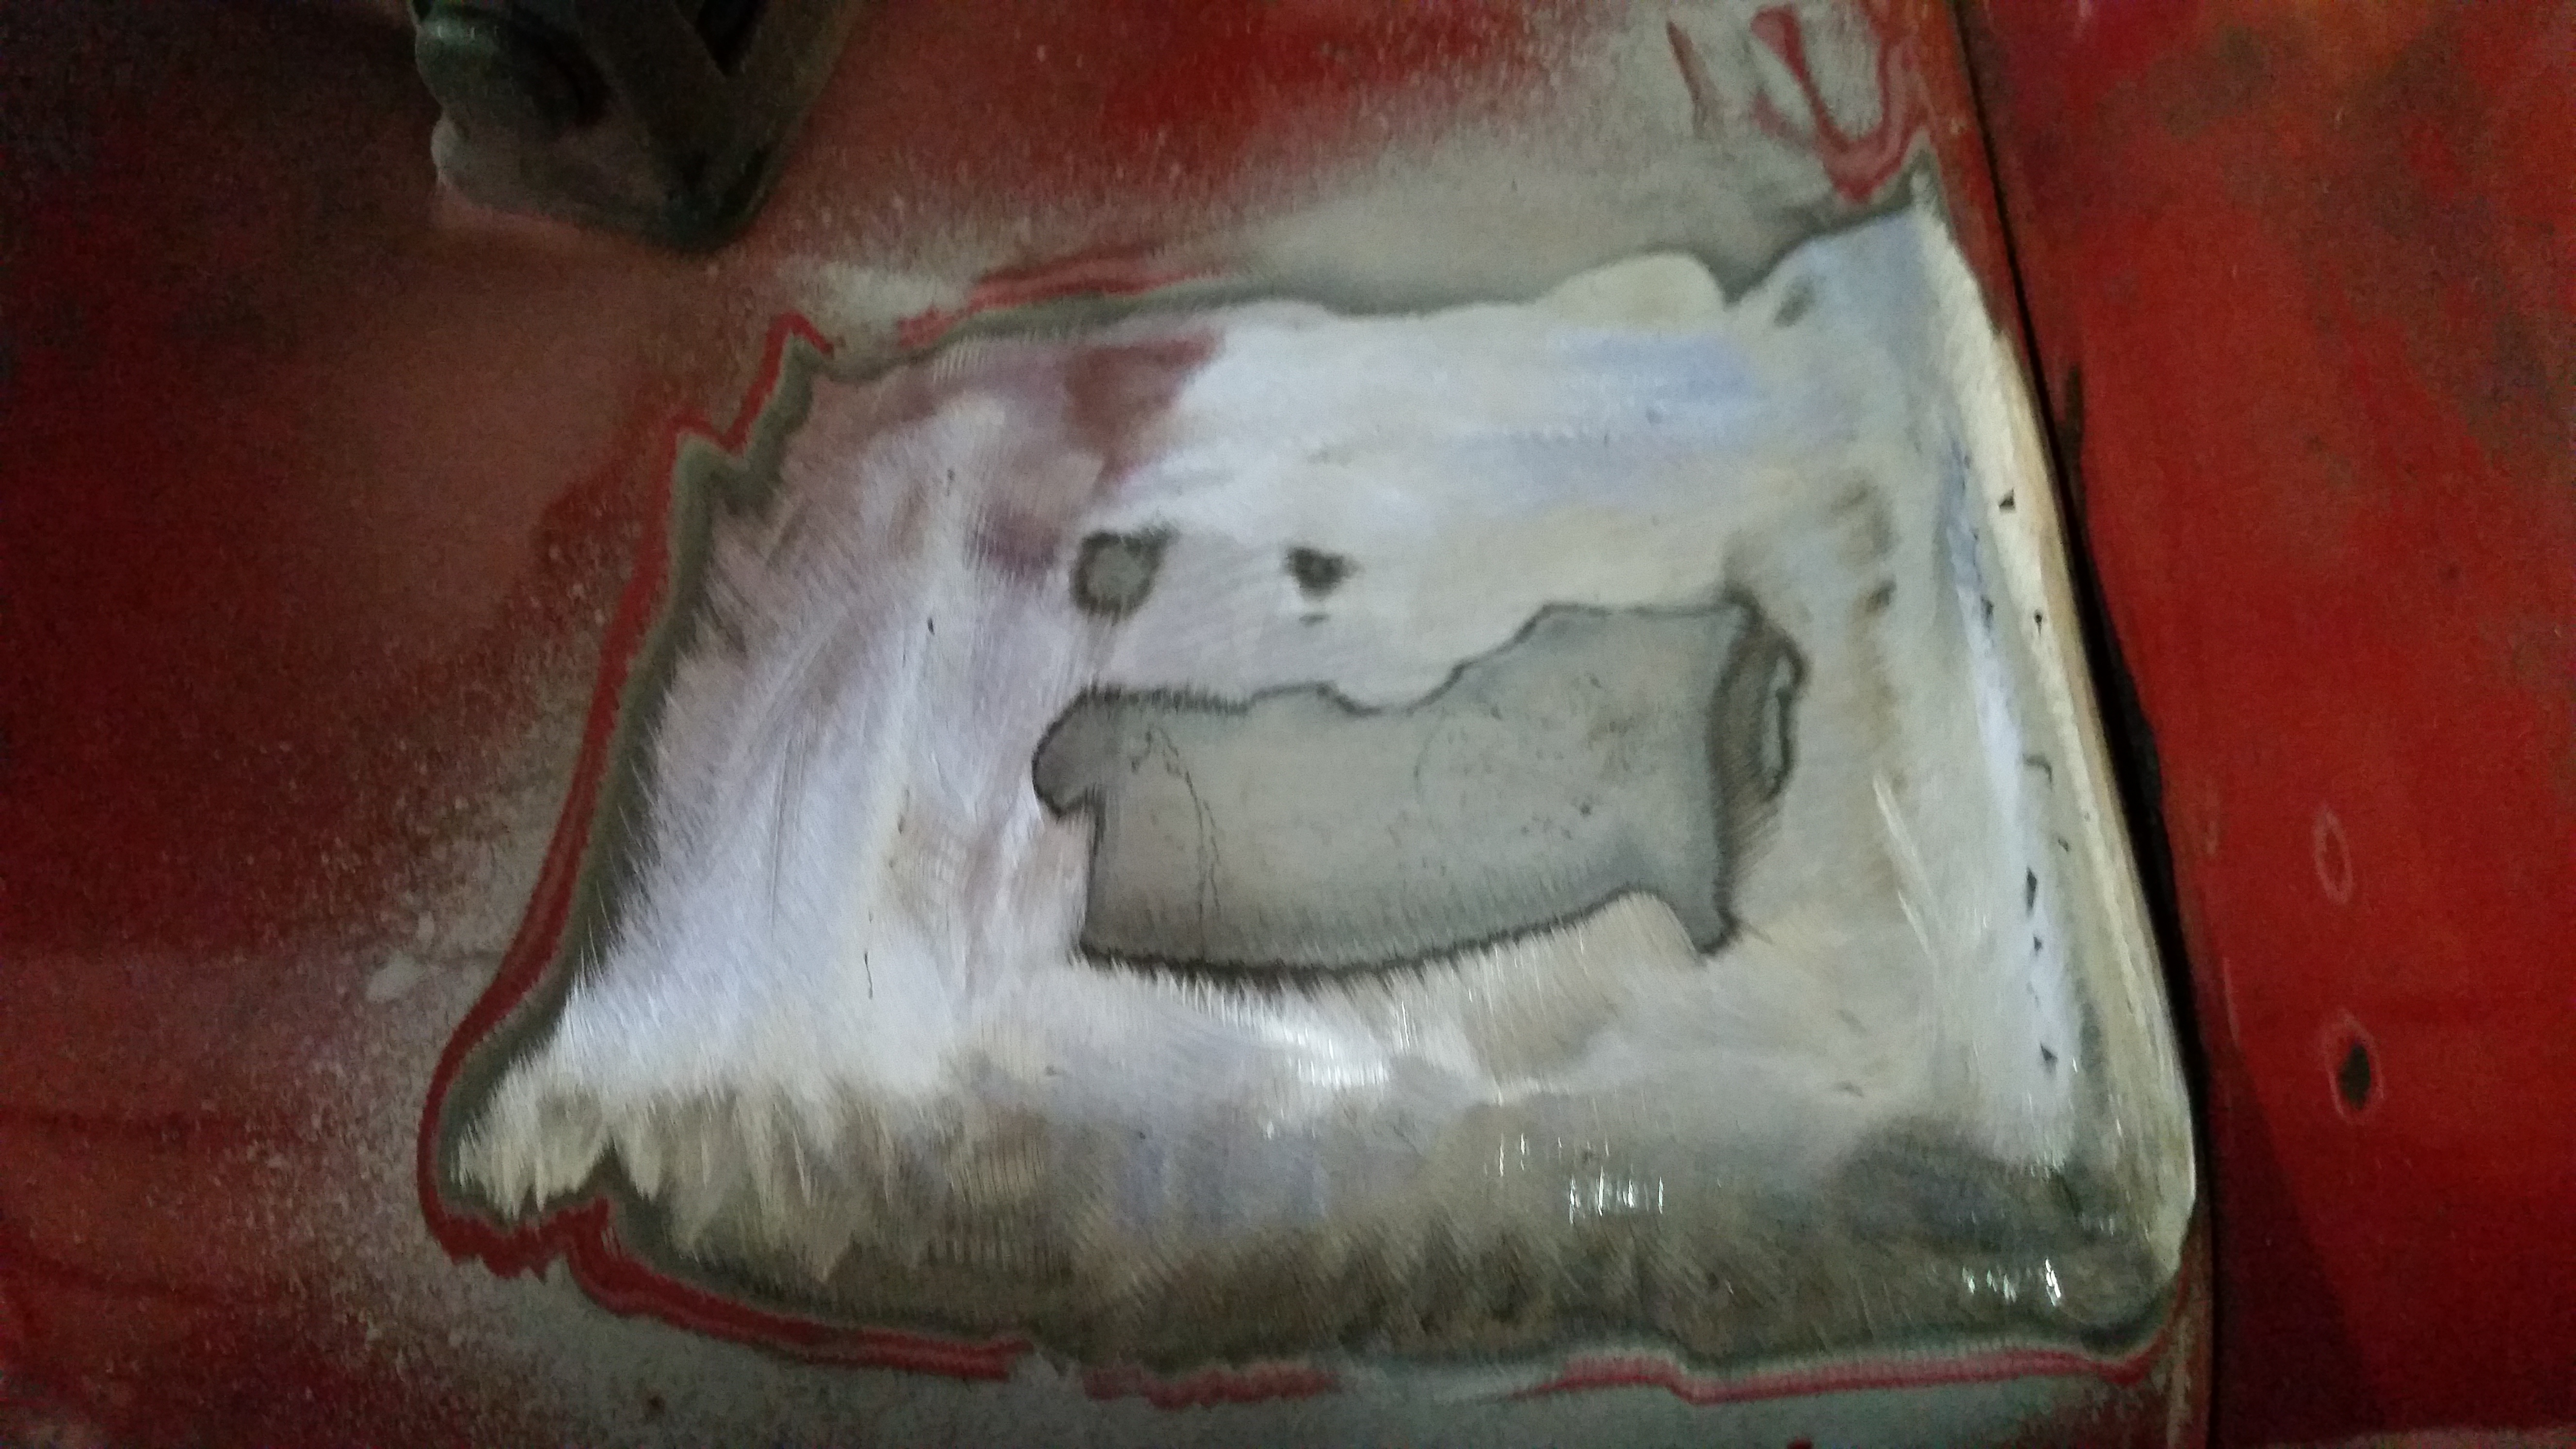
Fig. 22 2003 Wrangler TJ – Repaired and ready for body work and paint. On to second patch…
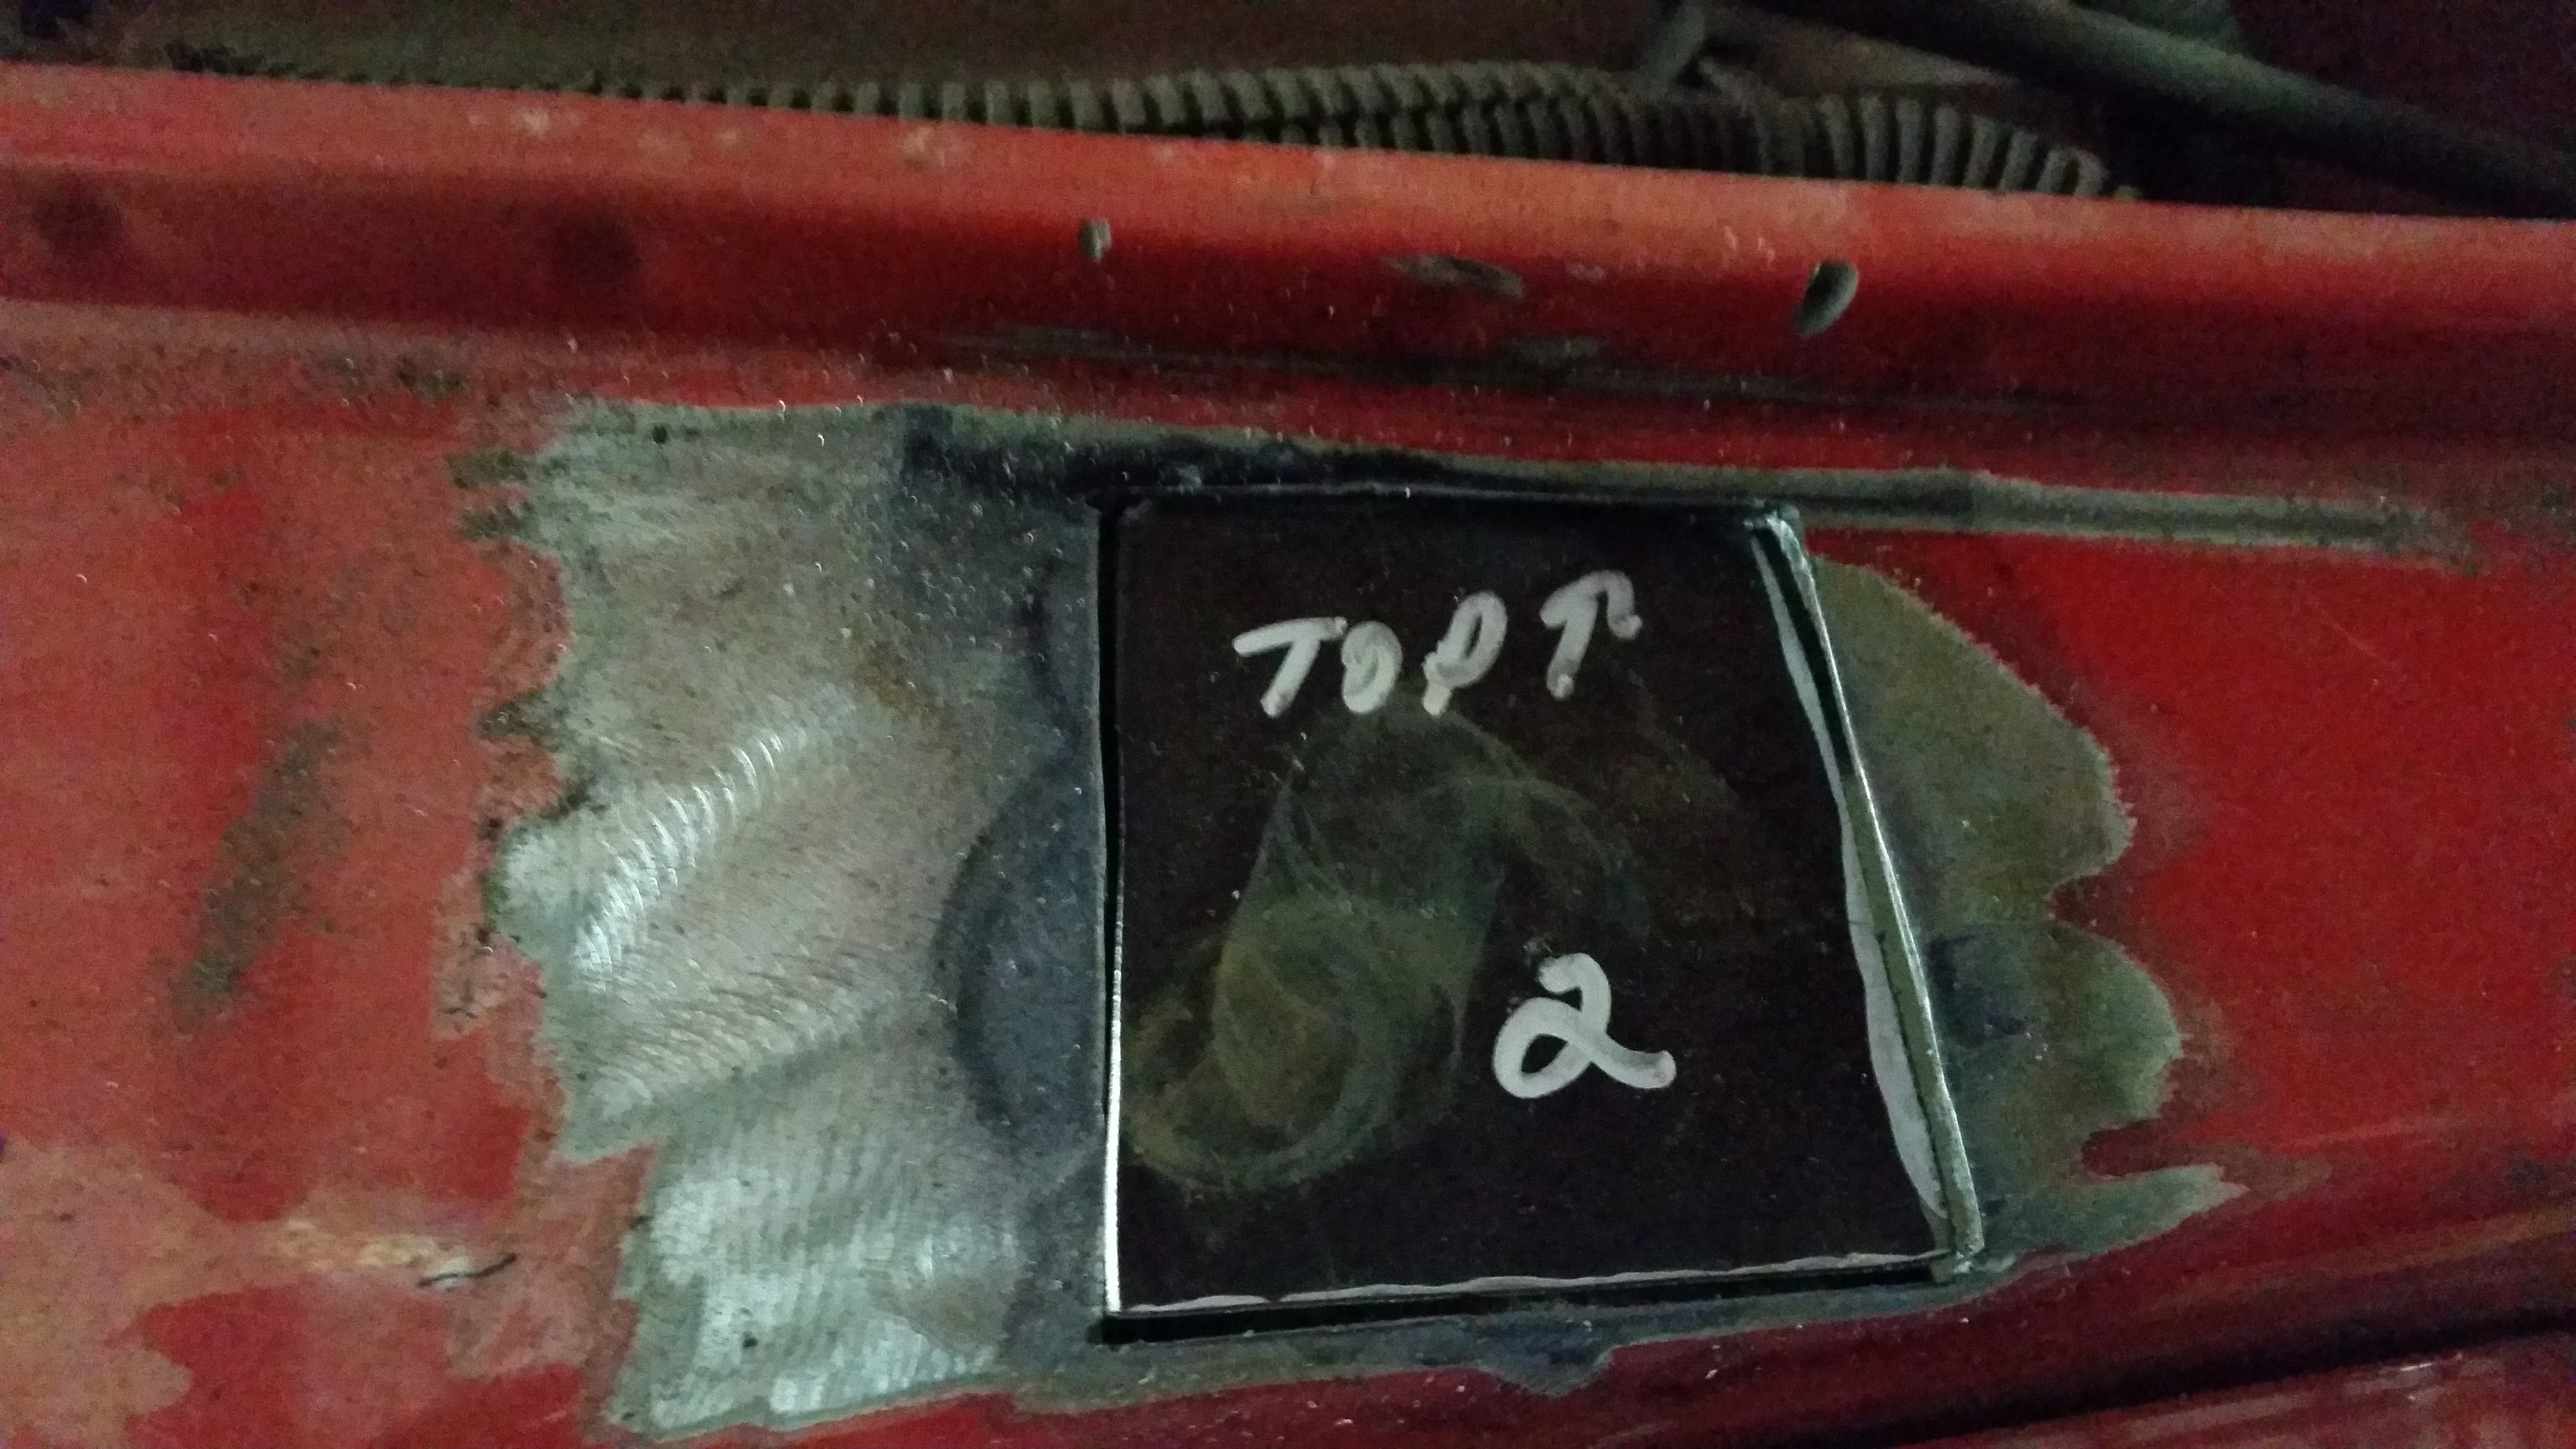
Fig. 23 2003 Wrangler TJ – Second patch on driver’s front fender cut and fit.
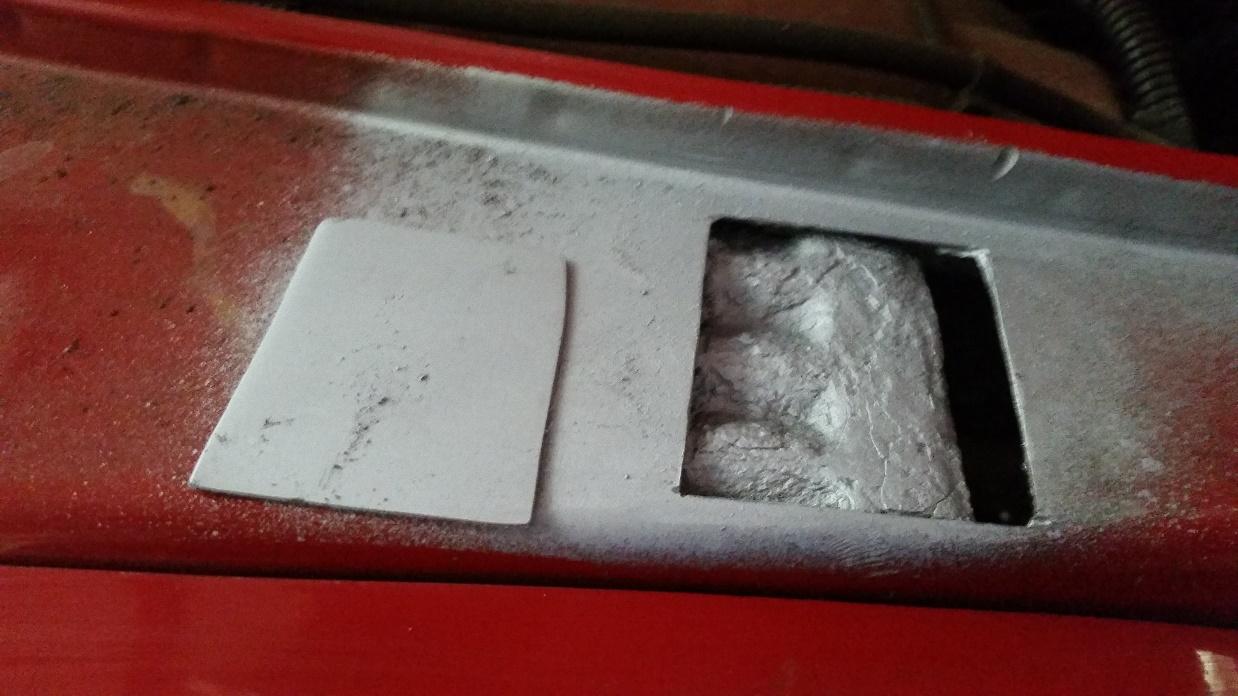
Fig. 24 2003 Wrangler TJ – Patch 2 on driver’s front fender primed and ready to weld.
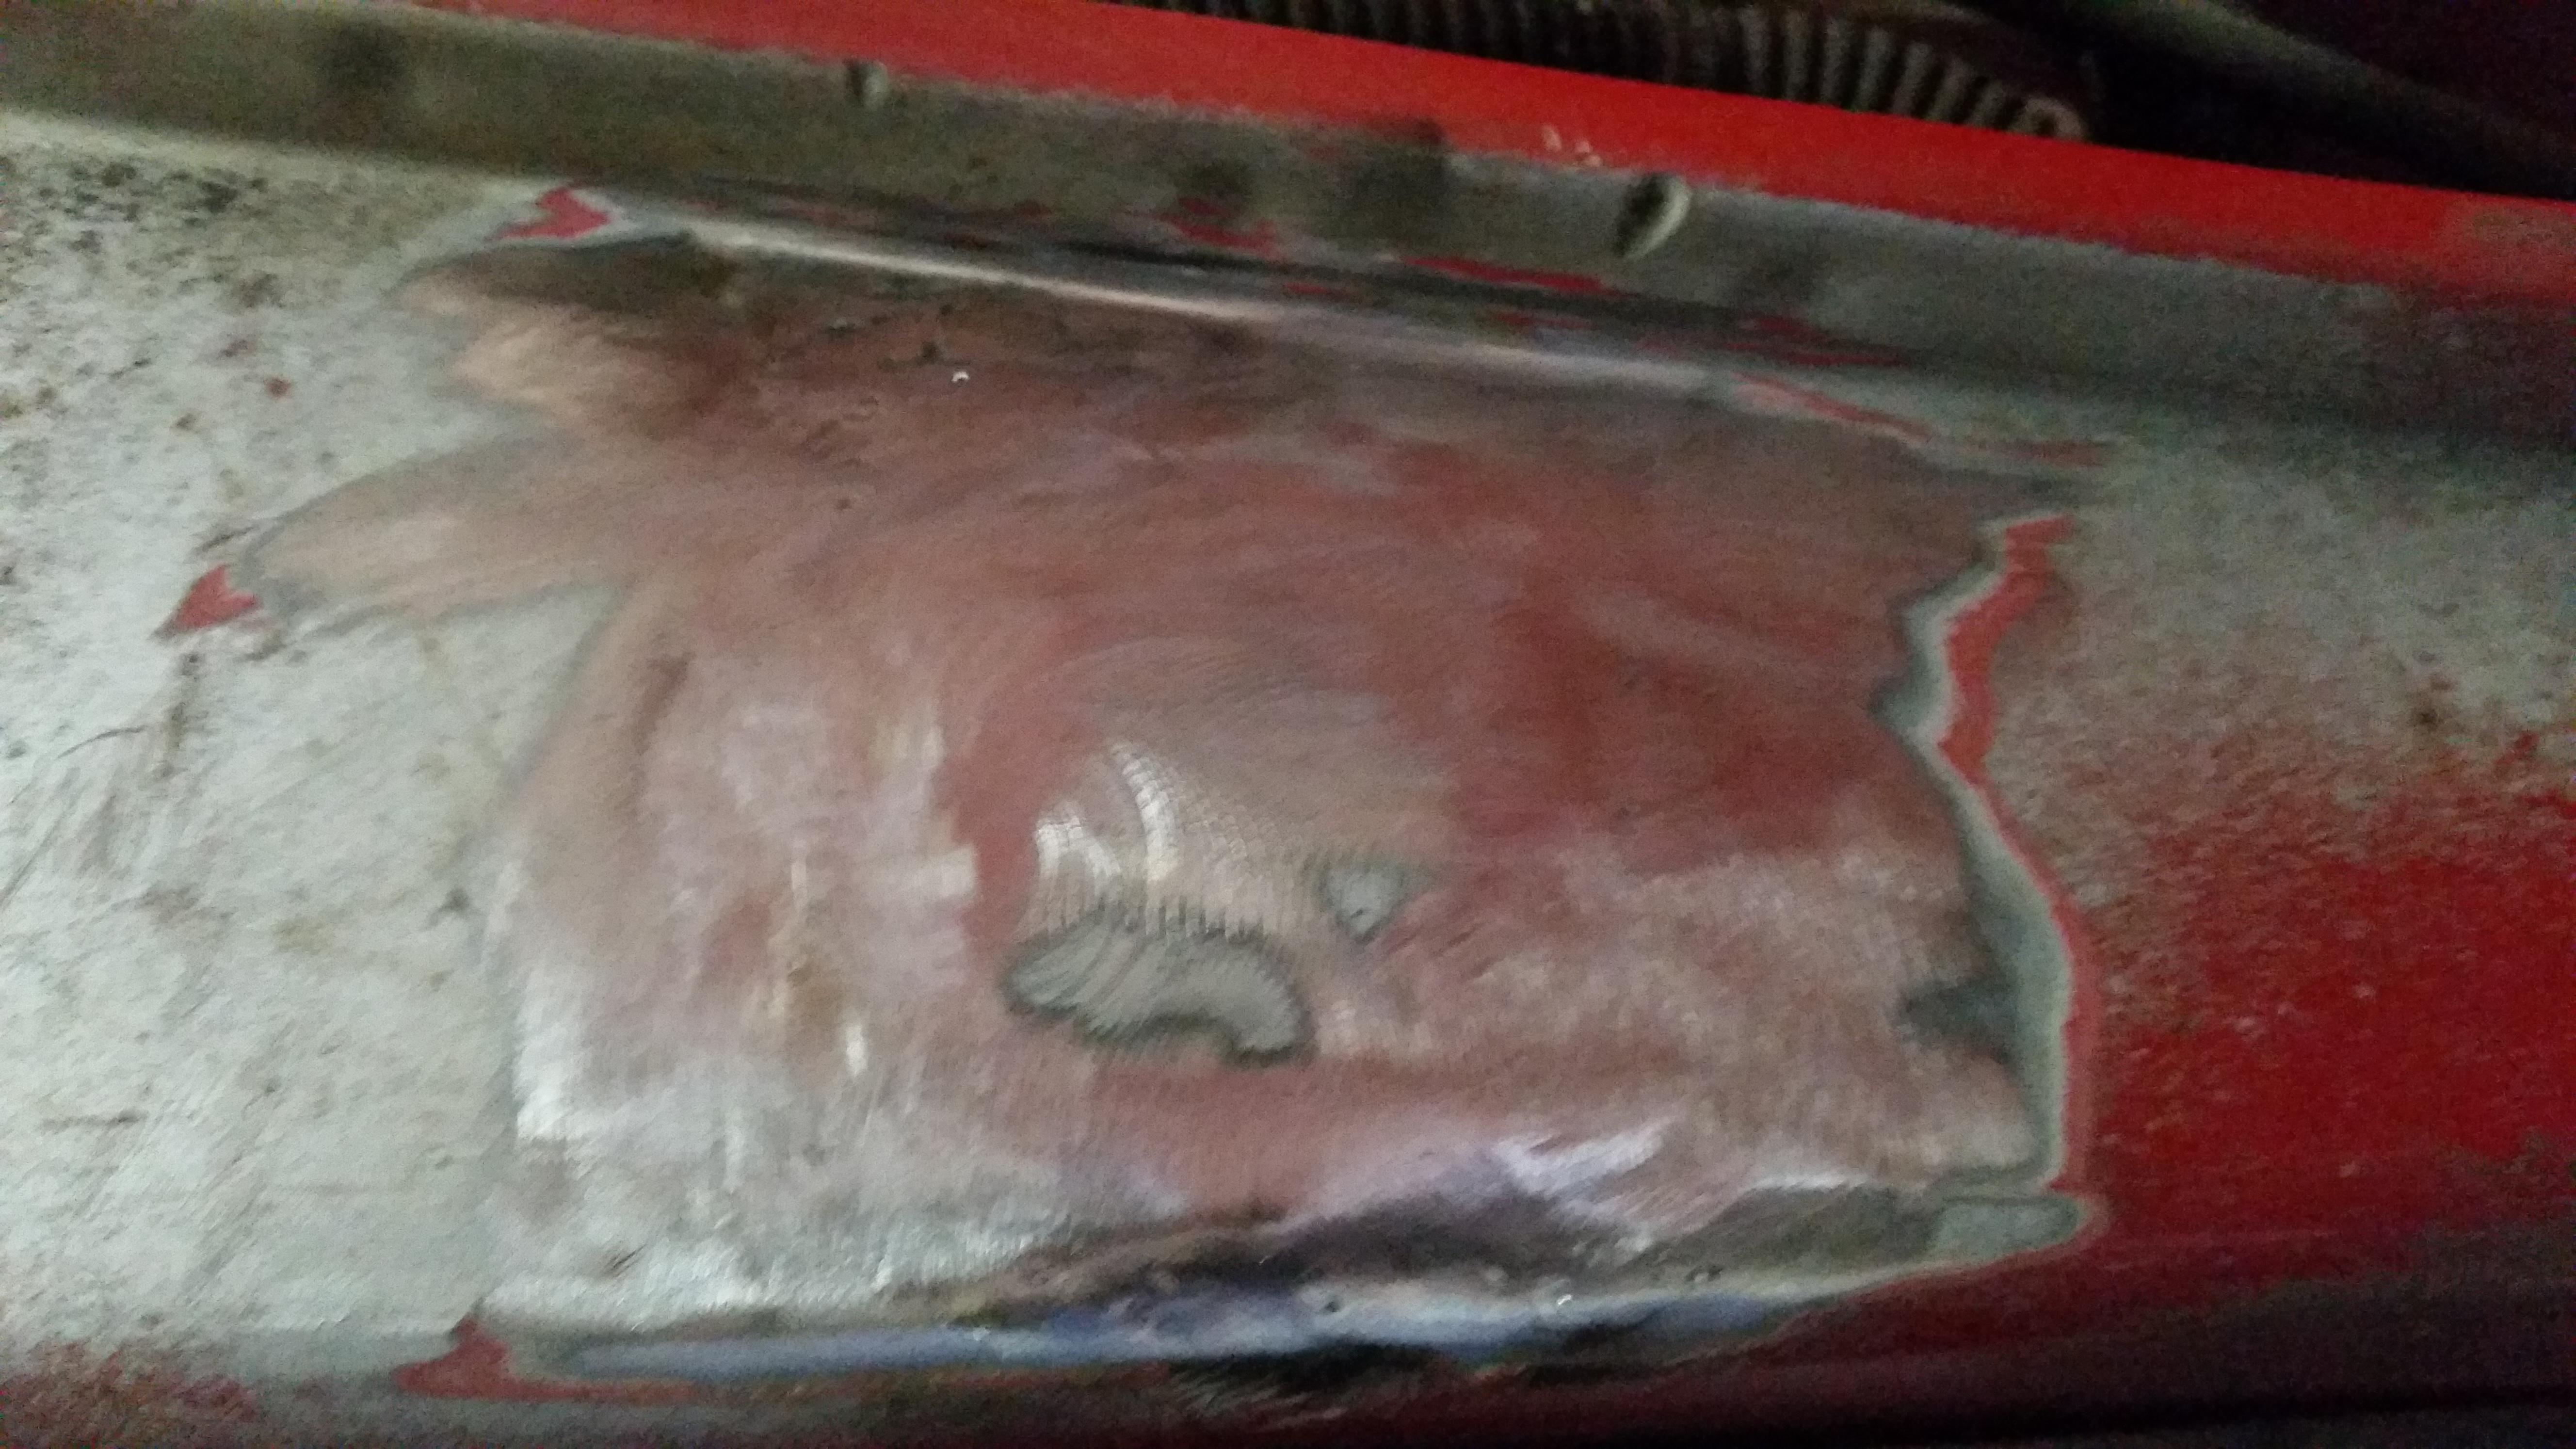
Fig. 25 2003 Wrangler TJ – Patch 2 on driver’s front fender welded, ground smooth, and ready for body work and paint. Now, on to patch 3…

Fig. 26 2003 Wrangler TJ – Not a pretty sight…Patch 3 on driver’s front fender will be necessary.

Fig. 27 2003 Wrangler TJ – Patch 3 cut…ready for new metal.

Fig. 28 2003 Wrangler TJ – Patch 3 fitted for welding.

Fig. 29 2003 Wrangler TJ – Patch 3 from wheel opening…nice!

Fig. 30 2003 Wrangler TJ – Patch 3 welded in, ground smooth, awaiting body work and paint. No more rot!
7. The next step was to remove as much of the last owner’s bed liner as we could so that we could apply seam sealer to the interior pan prior to applying the fresh bed liner. Just a quick note: before you attempt this on your own, PLEASE make sure that you have a good grinder, some course wire wheels, and a DUST MASK! This stuff is nasty to breathe and will get absolutely everywhere. You are now advised! It was dirty and hard work, but was absolutely necessary in order to best protect RED for her next owner. We like how it came out so far…

Fig. 31 2003 Wrangler TJ – Getting the old bedliner out of RED…slow, hard, dirty work but worth it!

Fig. 32 2003 Wrangler TJ – Old bedliner removed…on to seam sealer. Looks good…
8. We next laid down the seam sealer. This is another critical step that essentially works like calk around your house…it fills cracks/seams with a water-tight barrier of goop so that moisture can’t penetrate the seams and begin to cause more cancer in the future. This won’t interfere with anything else that anyone cares to do with the interior…it can be painted or, as in our case, bed-lined. Nuff said…

Fig. 33 2003 Wrangler TJ – Seam sealer down on the passenger floor pan.

Fig. 34 2003 Wrangler TJ – Seam sealer down behind passenger seat area.

Fig. 35 2003 Wrangler TJ – Seam sealer down on driver’s floor pan.
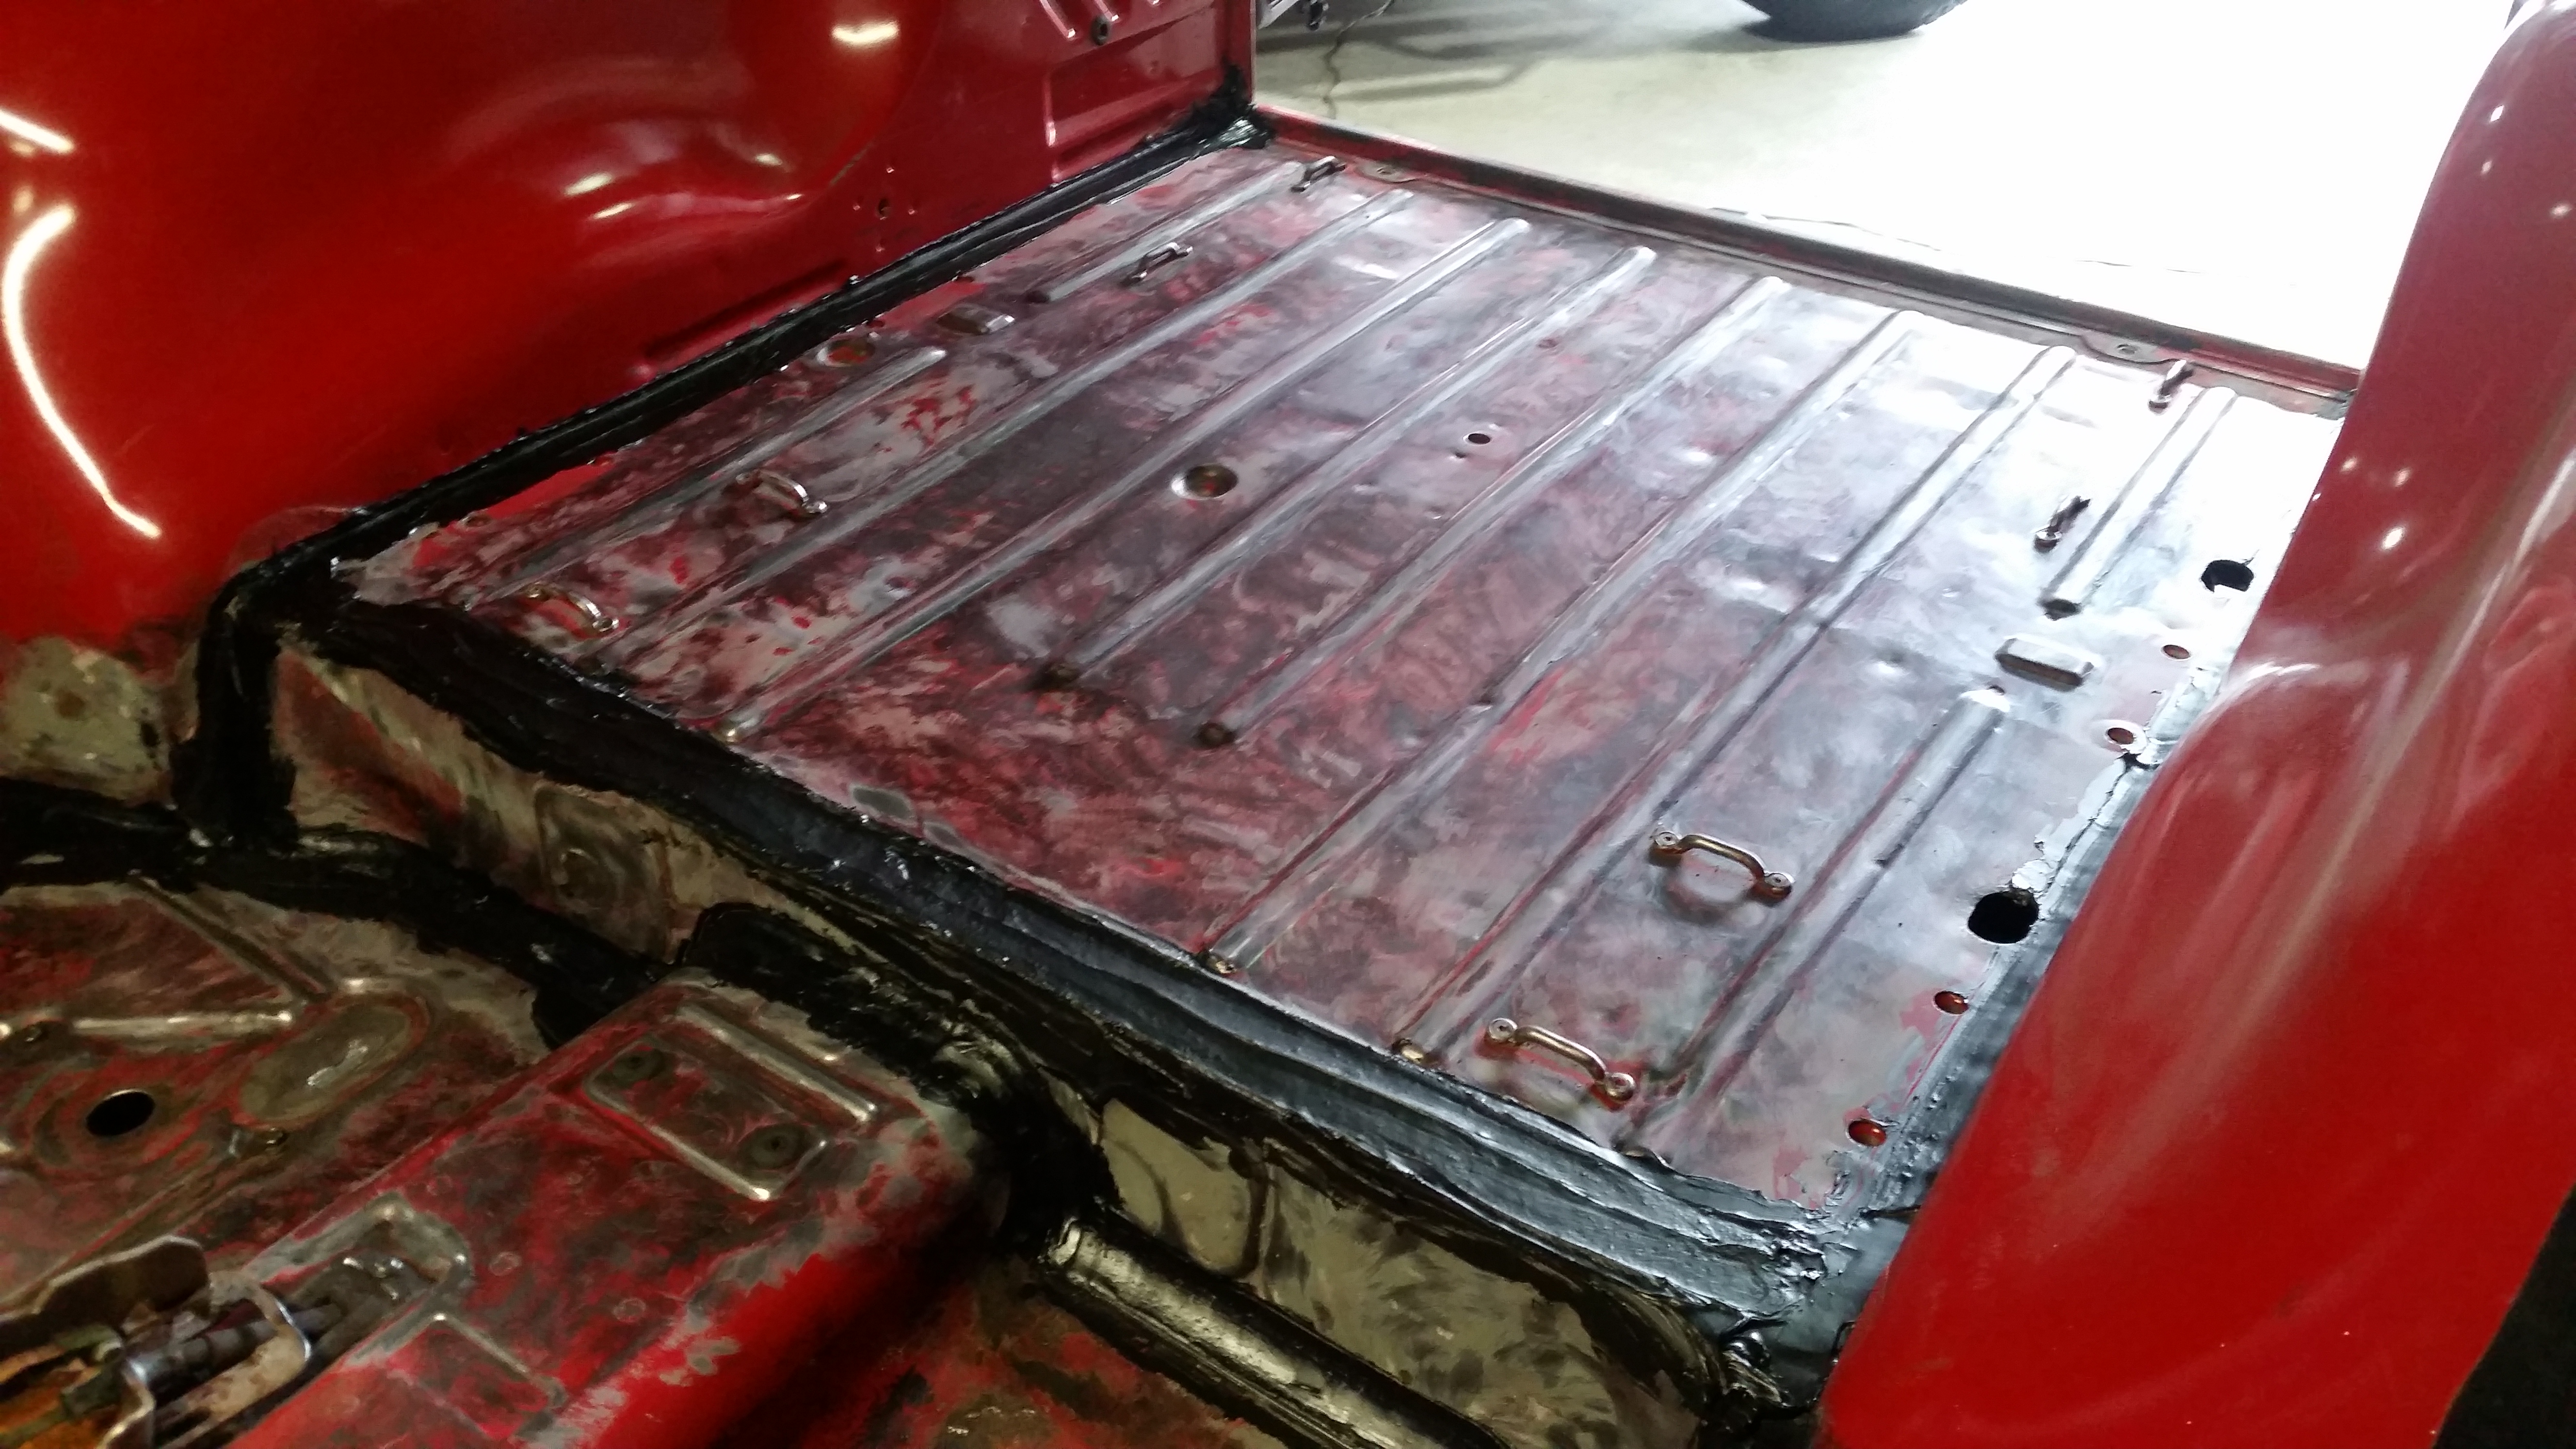
Fig. 36 2003 Wrangler TJ – Seam sealer down in the cargo area. Ready for bedliner!
9. WD also put seam sealer UNDER the body as well since we didn’t want to leave our welds to the mercy of winters, water, sand, and salt…not to mention all the goodies that Mother Nature will throw at her off-road. Sorry for not getting pics of any of that…you’ll just have to see for yourself when you come in for that test-drive!
10. We also are in the process of replacing the windshield frame. Based upon what we’ve seen so far, it appears that a previous owner had the windshield replaced and either didn’t see that the lower part of the passenger’s side corner of the frame had some rot…or just didn’t want to deal with it. Well, at WD, WE DEAL WITH IT! Lots of water made its way inside the frame and over time, caused lots of cancer. These pics tell the whole, SAD story…

Fig. 37 2003 Wrangler TJ – Windshield frame removed and full of ROT!

Fig. 39 2003 Wrangler TJ – Here’s the culprit…NEVER put sealer over rust. Water got in there and the rust ate away the rest of the windshield frame.

Fig. 40 2003 Wrangler TJ – Same culprit from the back side. You can see the urethane coming through the rot holes…who does this?

Fig. 41 2003 Wrangler TJ – Windshield frame rotted beyond hope. New one is in order.
11. Here’s what else we’ve been doing to RED: We saw that she had a bad radiator and replaced it along with new hoses, thermostat, thermostat housing, and coolant. The water pump was fine and appeared to be fairly new, so we left it alone. The power steering hoses were seeping, so we replaced them both, too.

Fig. 42 2003 Wrangler TJ – Nice new radiator to keep RED nice and cool running. SWEET!

Fig. 43 2003 Wrangler TJ – New power steering hoses got installed since the old ones were seeping.
12. RED has a new battery to keep everything electrical in good working order, juice-wise anyway. There’s also a new headlight/turn-signal/hazard light switch on the steering column since the old one had a short (or two?) causing the lights to only sometimes work right and to also drain the battery. Not a good thing. RED was also given brakes/rotors/drums at all four corners with a new set of KYB Shocks all-around. RED runs like a top with only ~82000 miles on her 4.0 Liter awesomeness…she’ll be a wonderful TJ for her next owner…might that be you???
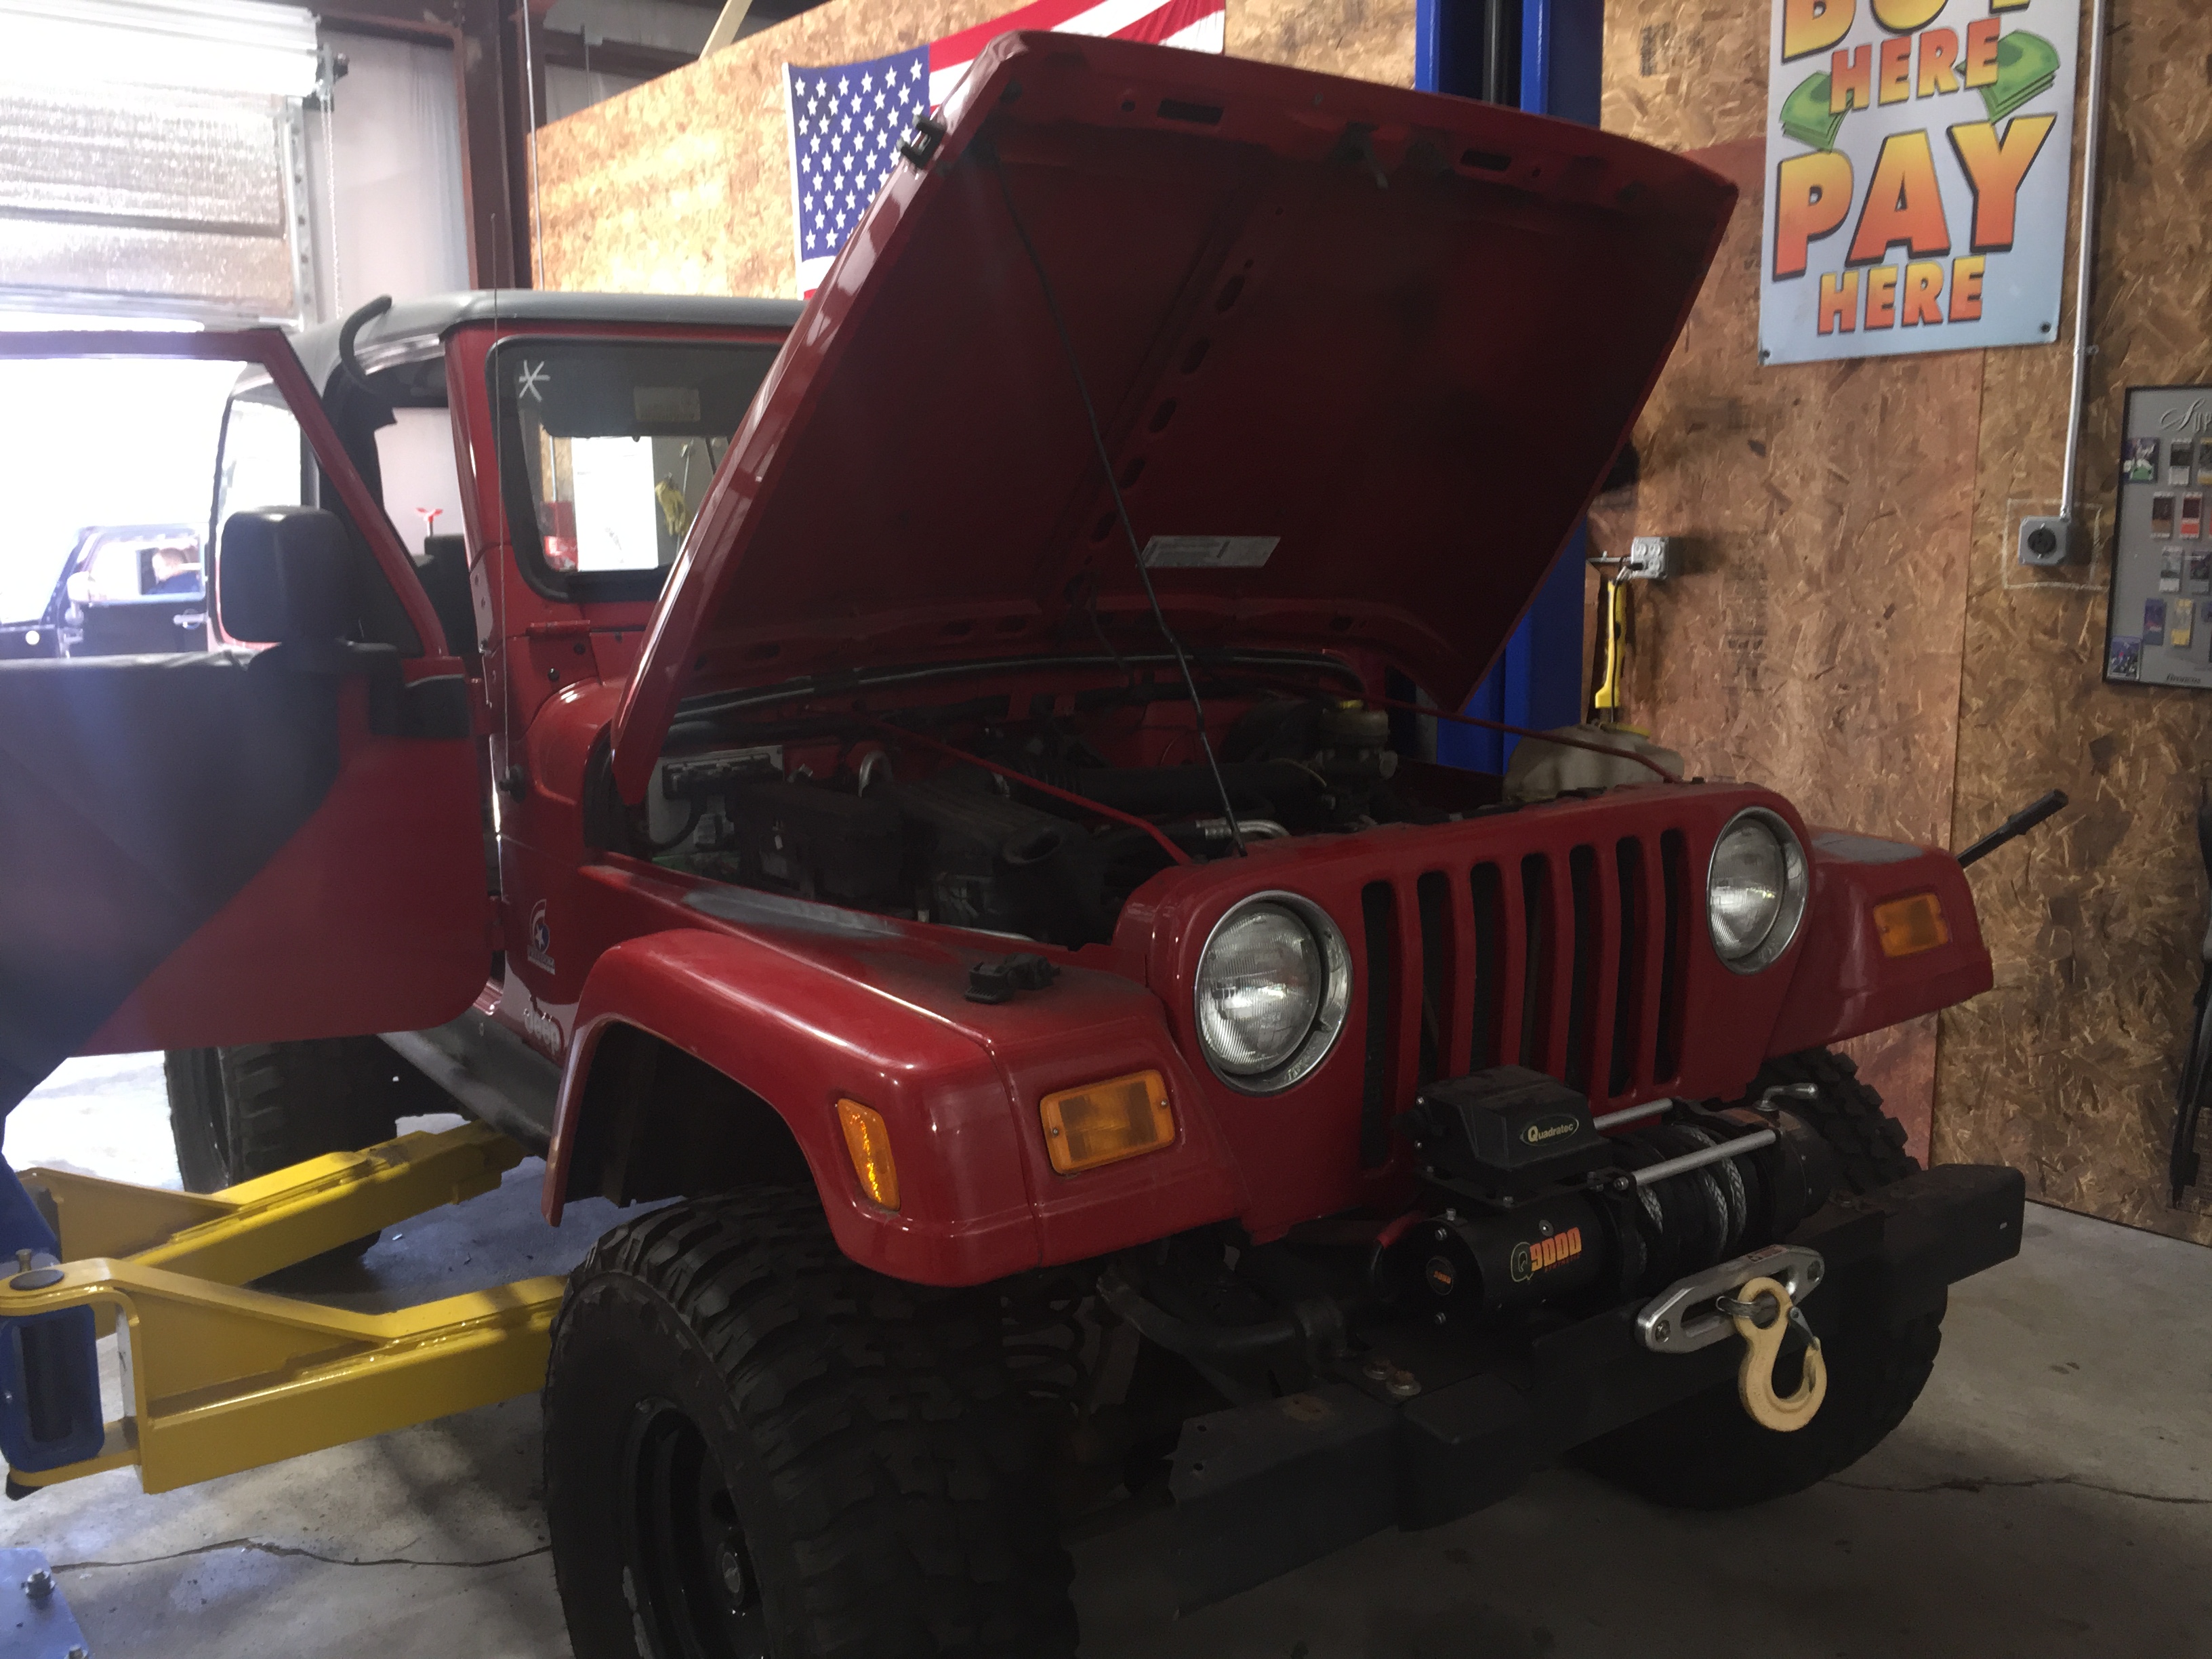
13. Here’s what RED looks like today…she’s slightly thinner now that most of her has been removed to do all the work on her. Don’t worry, she’s been a good patient, follows instructions to a T, gets plenty of rest, and is appreciating all the attention we here at WD have been giving her. We expect a complete recovery and RED will be running with the Big Dogs both on the roads and in the woods, over the rocks, and wherever her new owner wants to take her.

Fig. 44 2003 Wrangler TJ – RED as she sits today…much thinner but also in WAY better shape.
14. Now that the ROT SURGERY was complete, we could move on to more funner things…like making RED a better TJ. We’ll start with the bedliner since it’s our next step and is also what’ll do the most to keep RED Jeepin’…
15. Our good friends at Impact Collision Parts in Cumberland, RI, suggested that we use SEM’s ‘Rock-It’ bedliner kit. The kit comes complete and ready to use…four jars of bedliner, one bottle of catalyst hardener, a measuring cup, and even a Schutz gun to lay the bedliner down. This was the first time that WranglersDirect used the SEM Rock-It product, but consider us SOLD! This stuff was easy to mix, has a good amount of ‘work-time’, only needs 15 mins between coats (depending upon temp/humidity…always follow the manufacturer’s instructions), and lays down nicely. We’ll play around more with gun pressure and gun distance to see what works for achieving different levels of texture or sheen, depending upon what our customers like. We’re EXTREMELY happy with how RED’s tub turned out…see for yourselves:
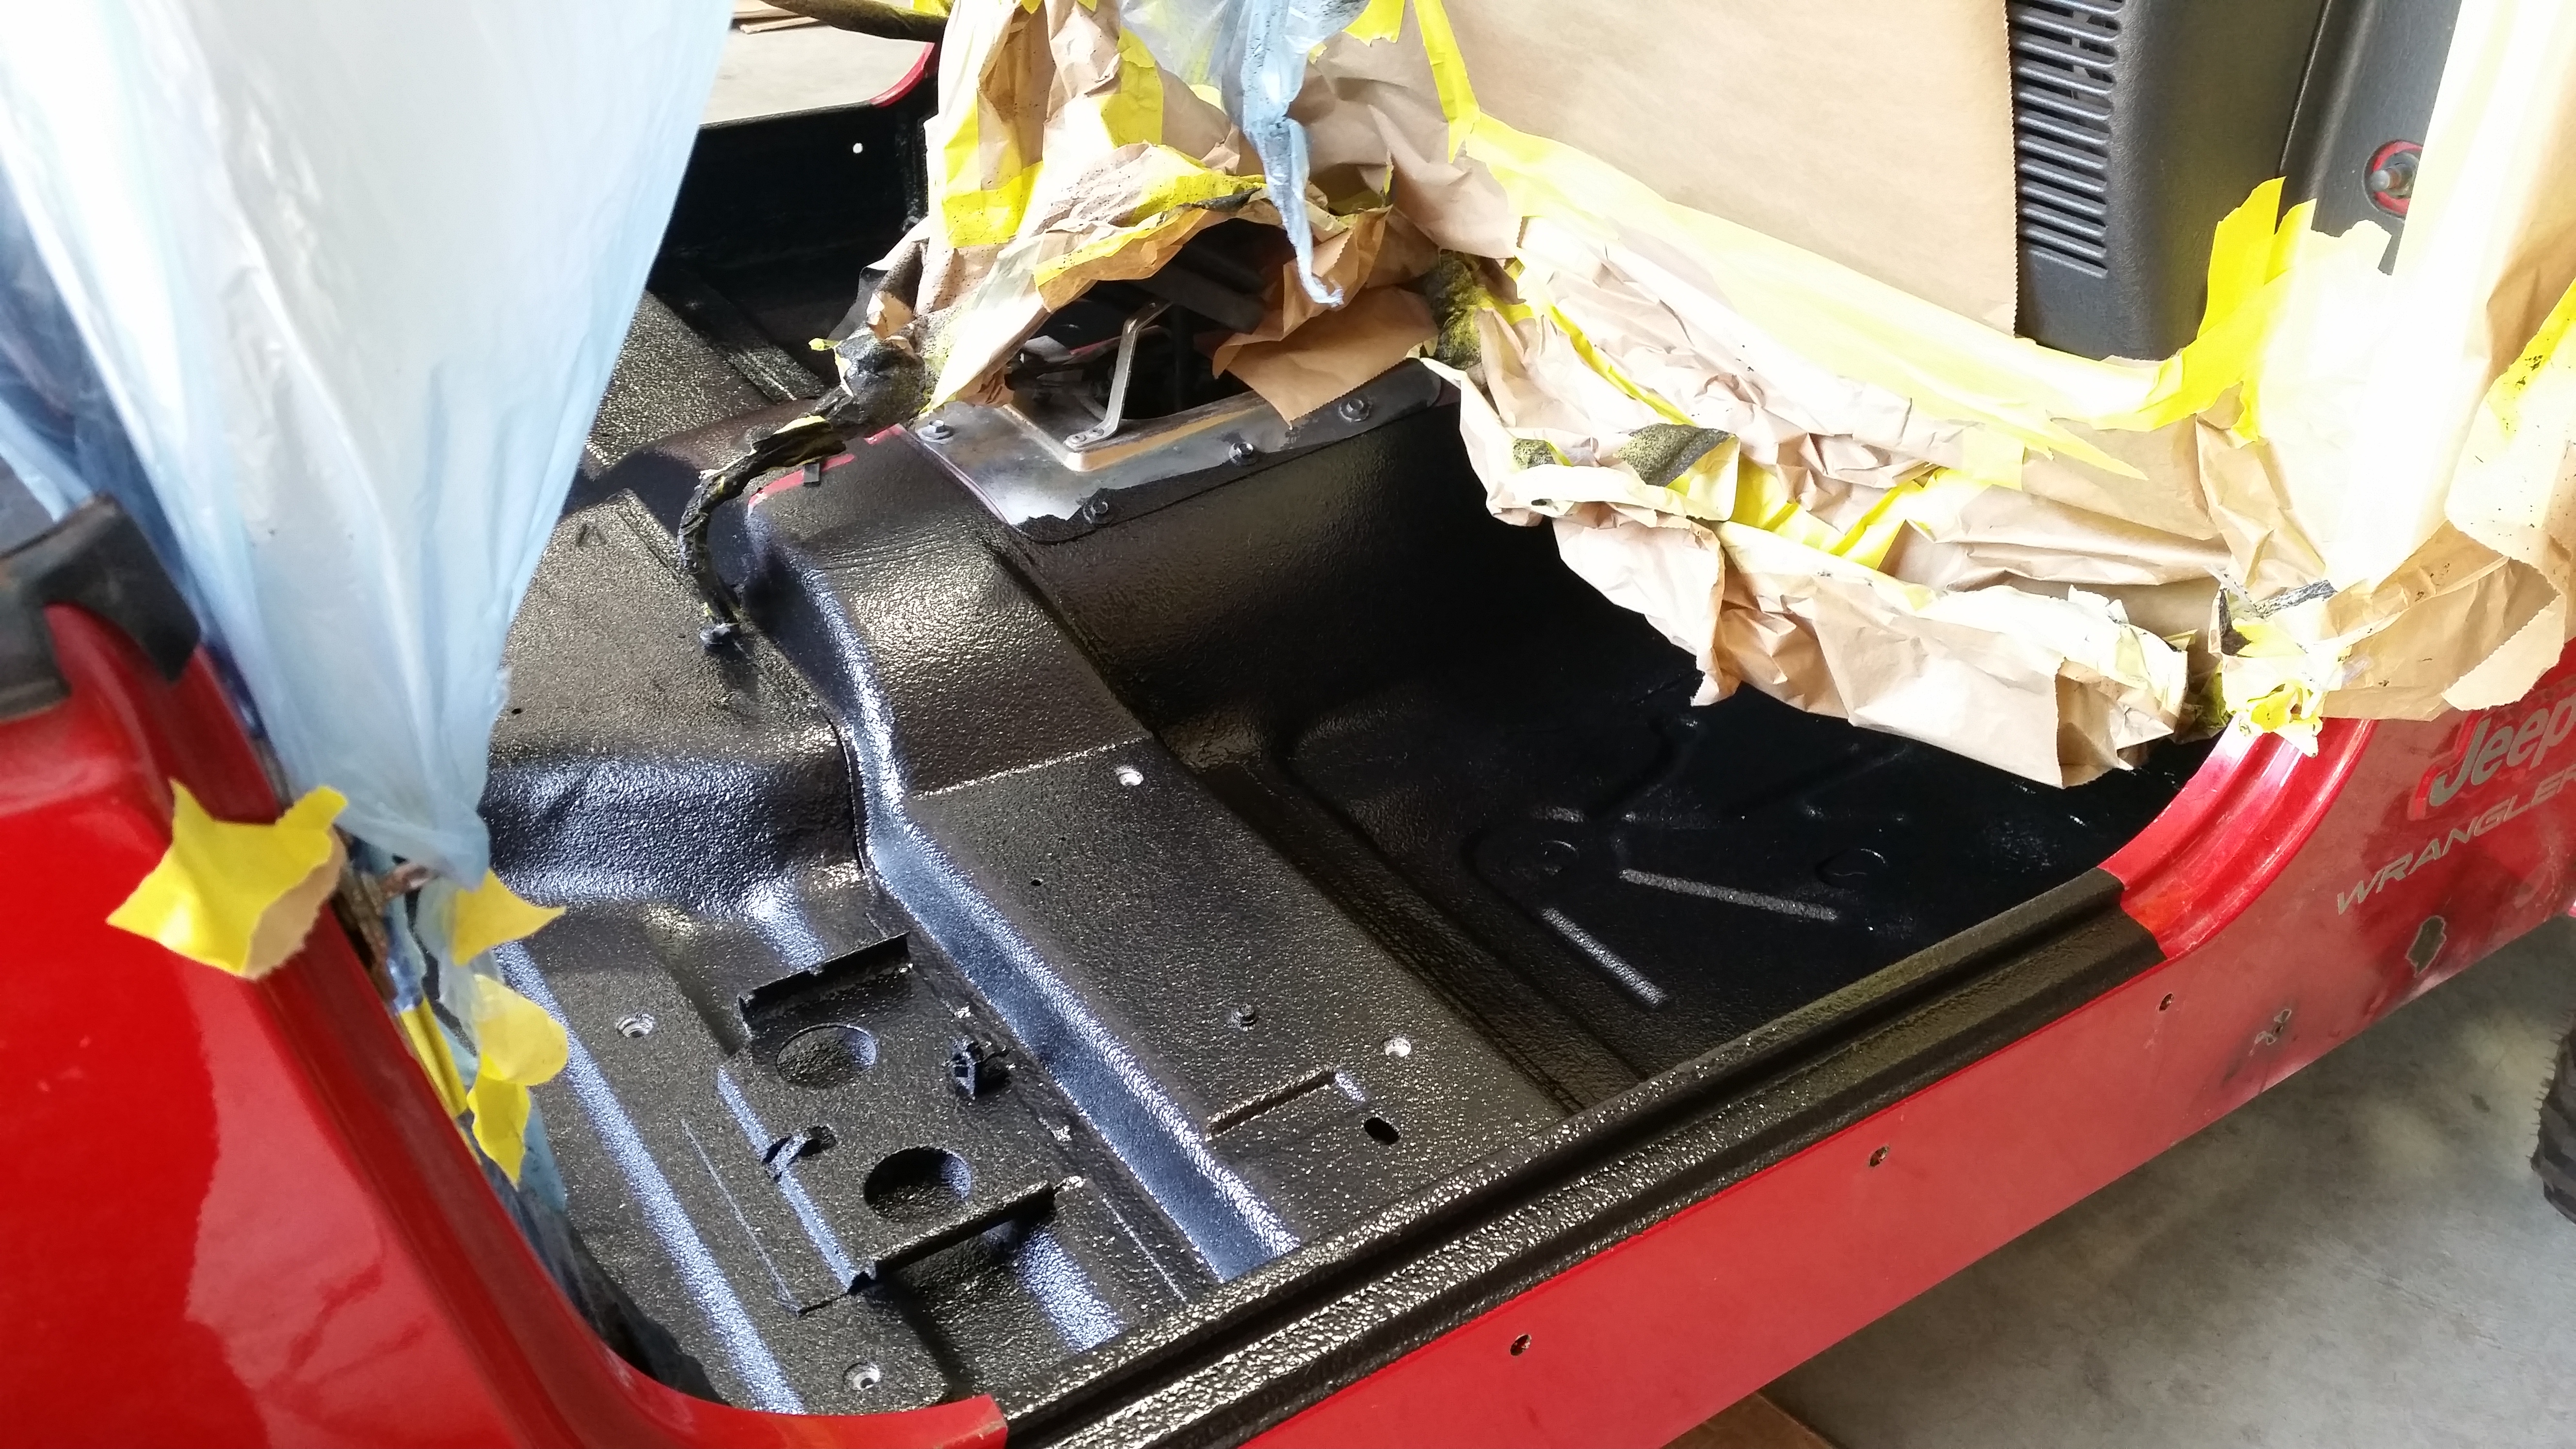
Fig. 45 2003 Wrangler TJ – New bedliner from passenger side.
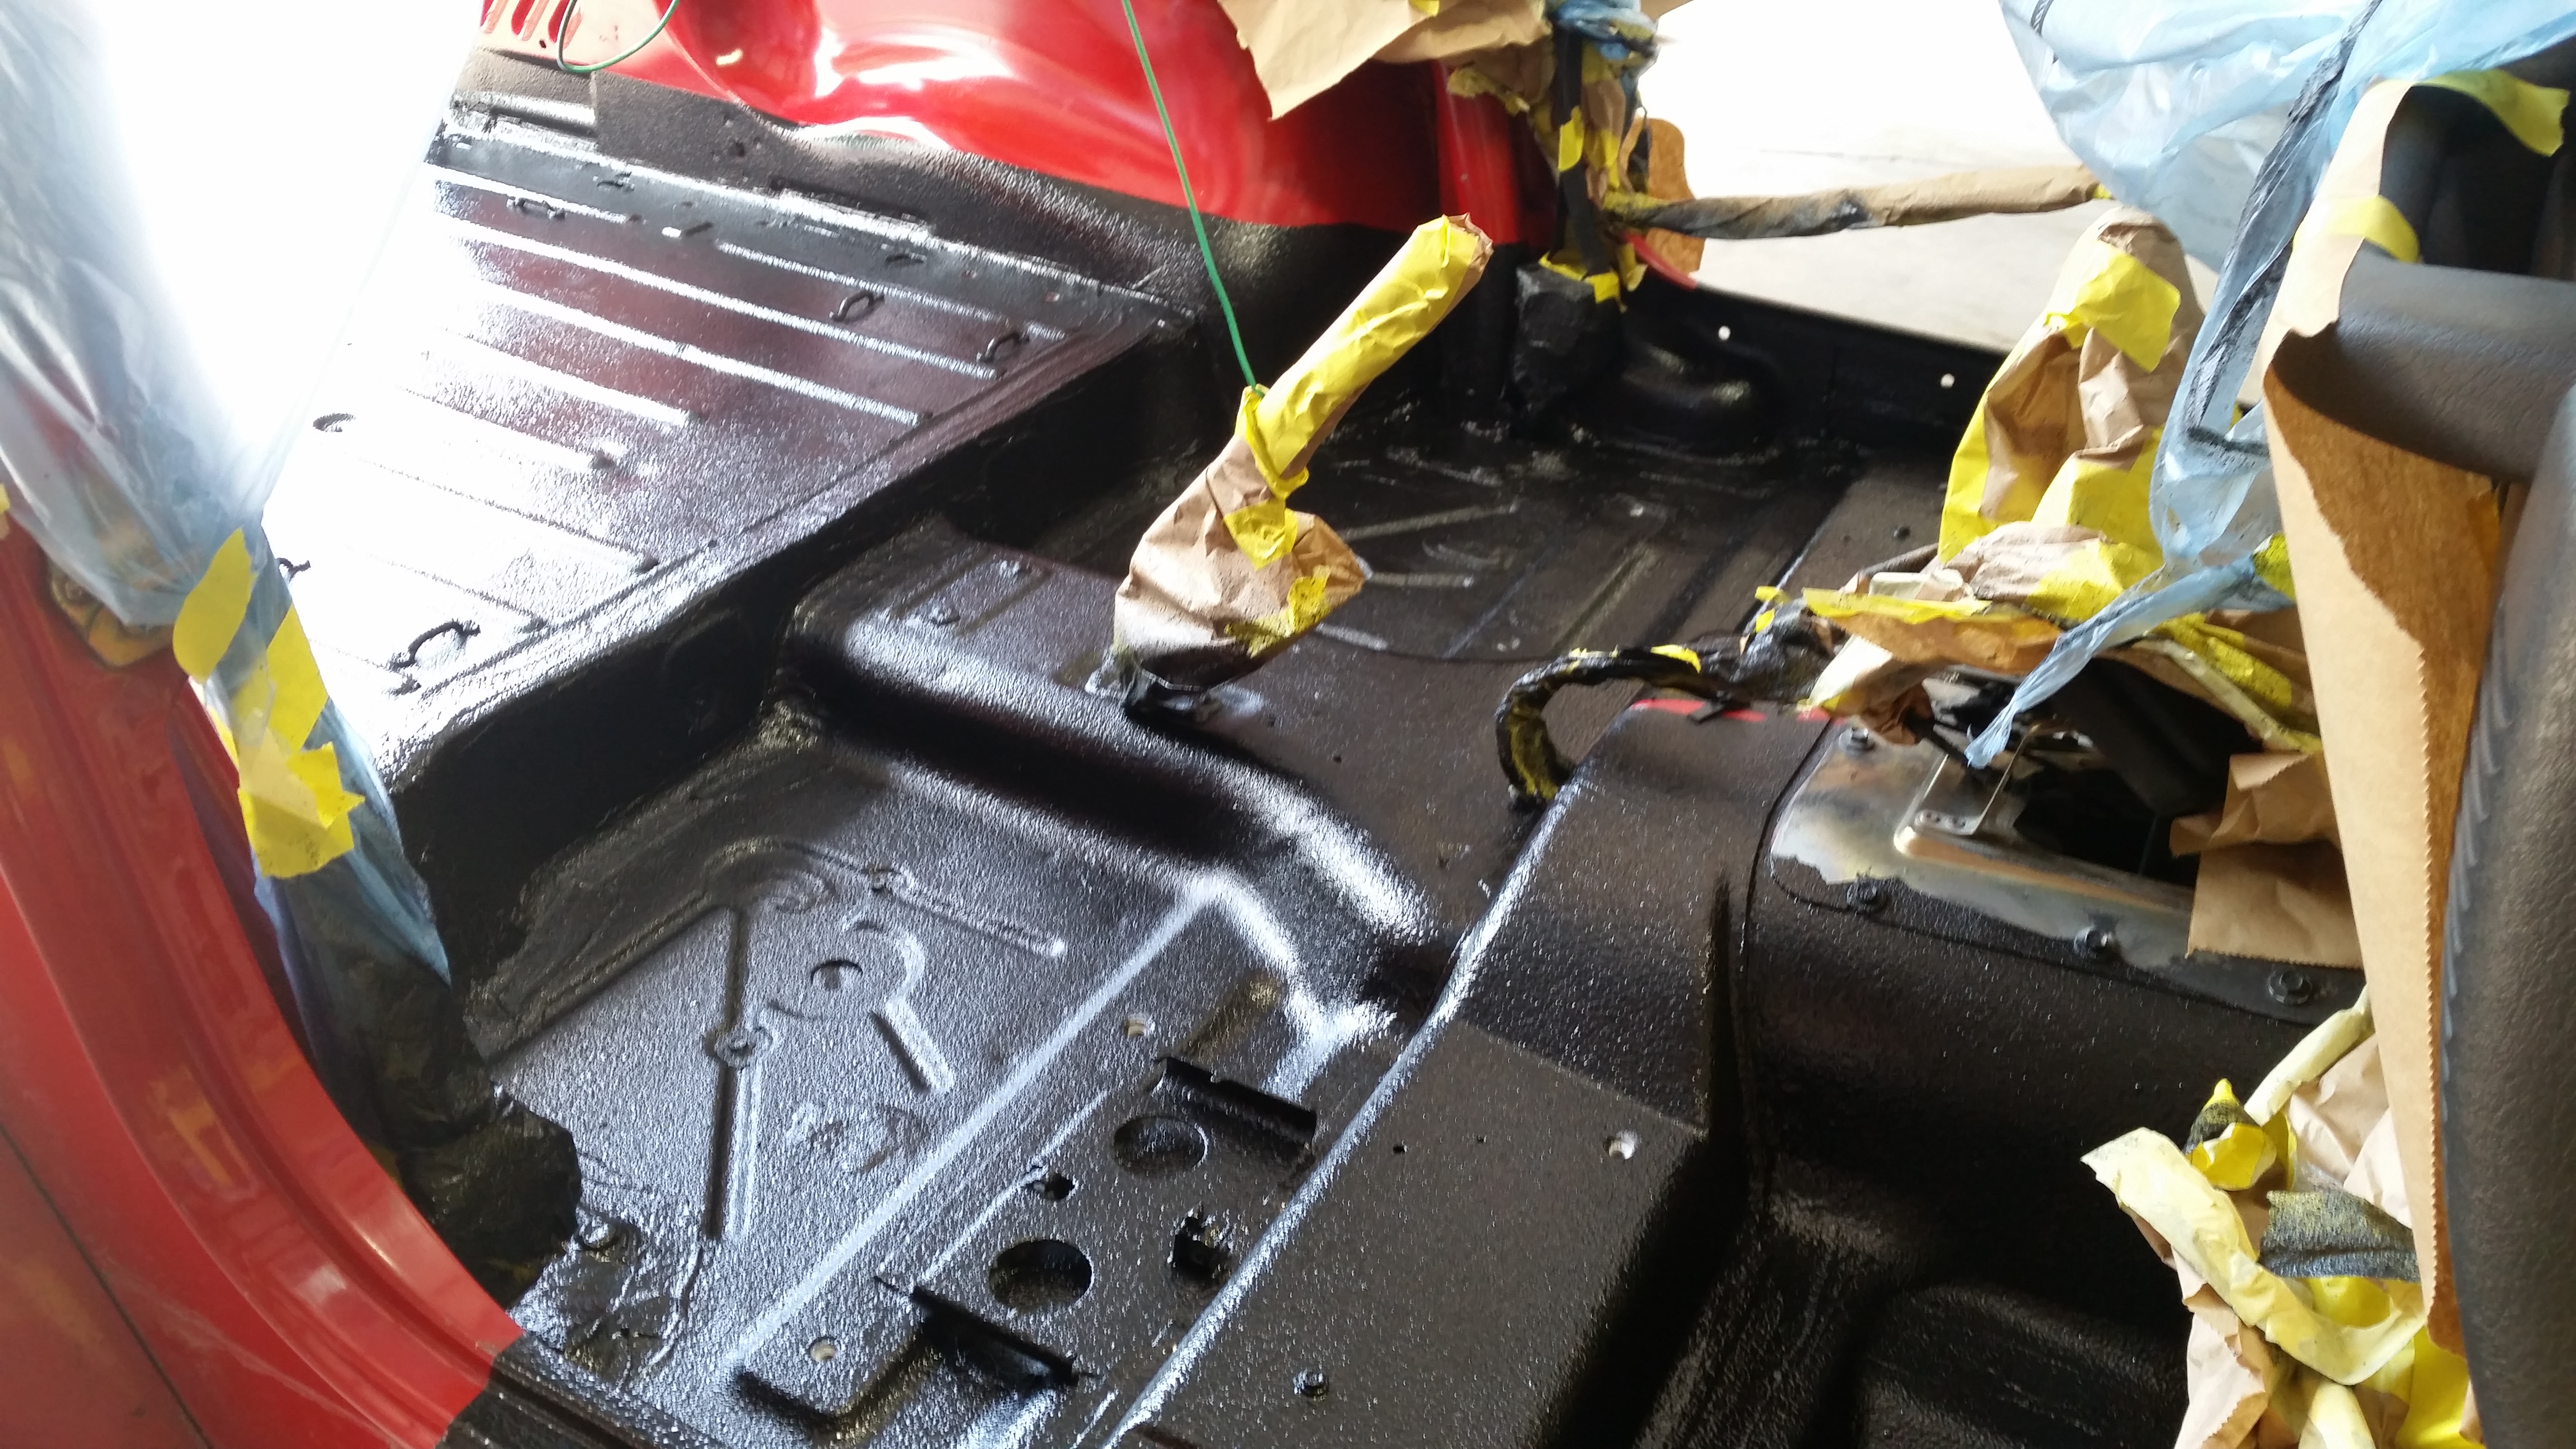
Fig. 46 2003 Wrangler TJ – Another look from the passenger side.
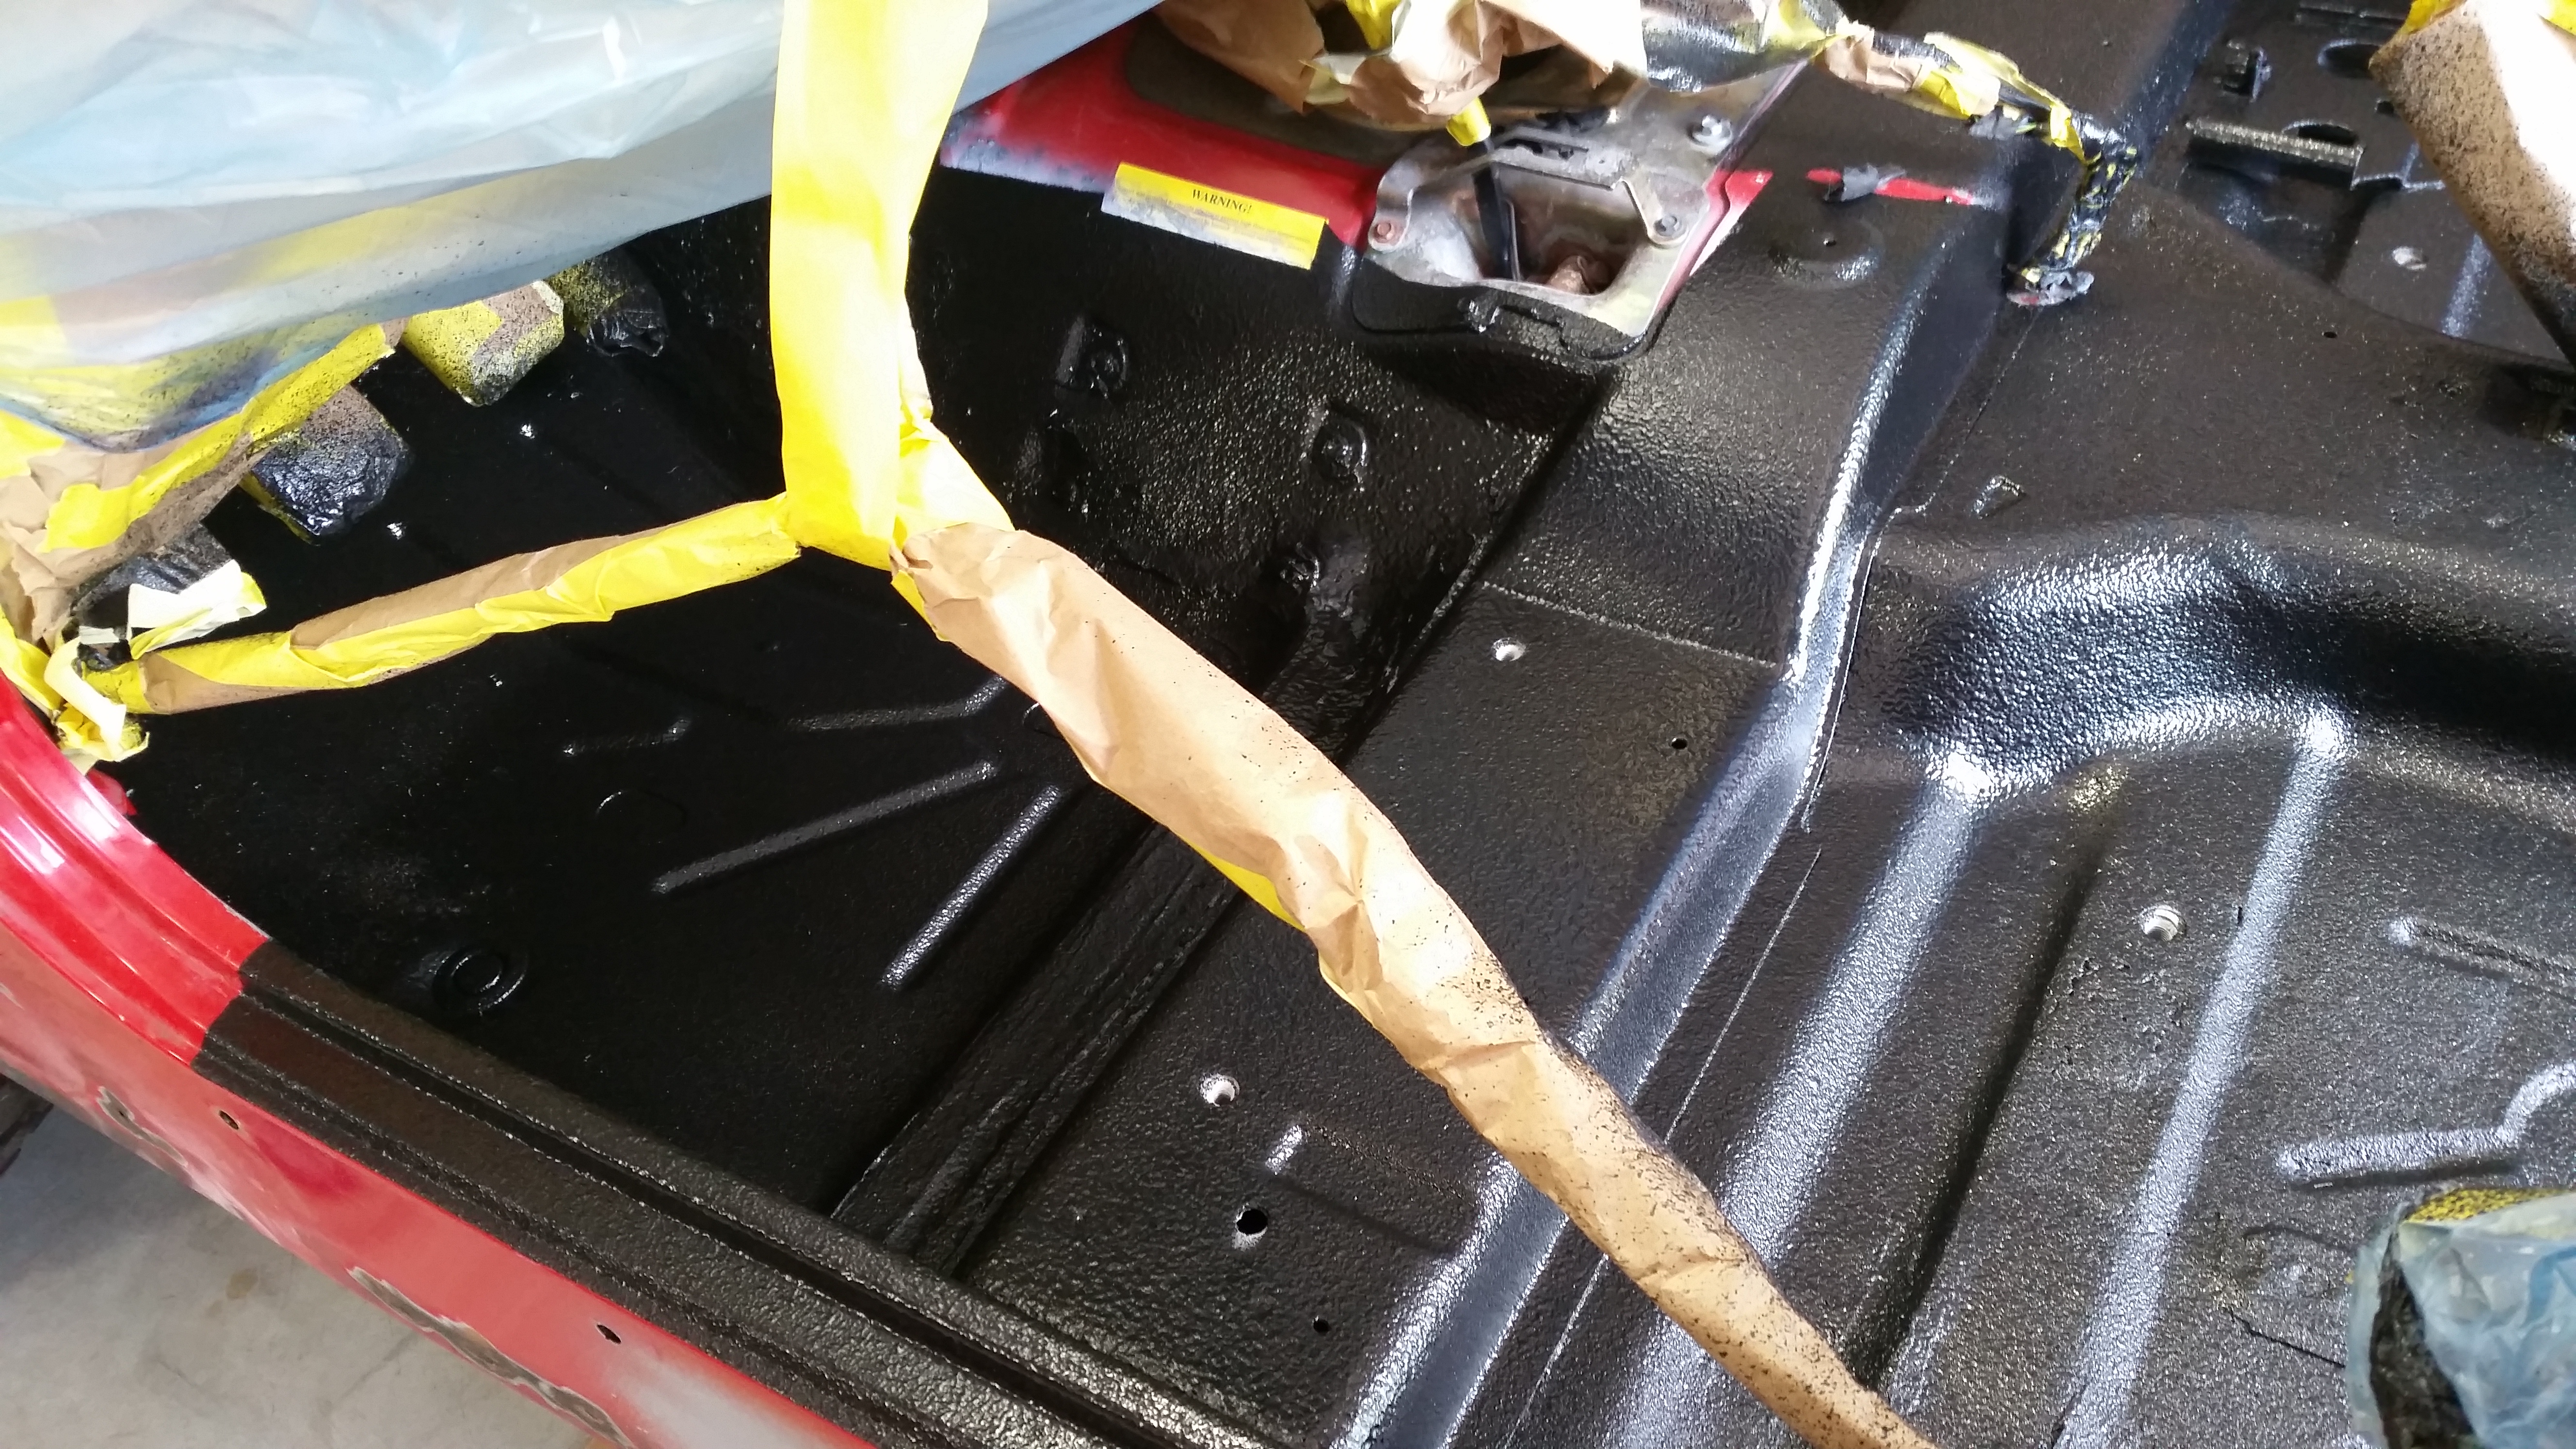
Fig. 47 2003 Wrangler TJ – Bedliner as viewed from the driver’s side.
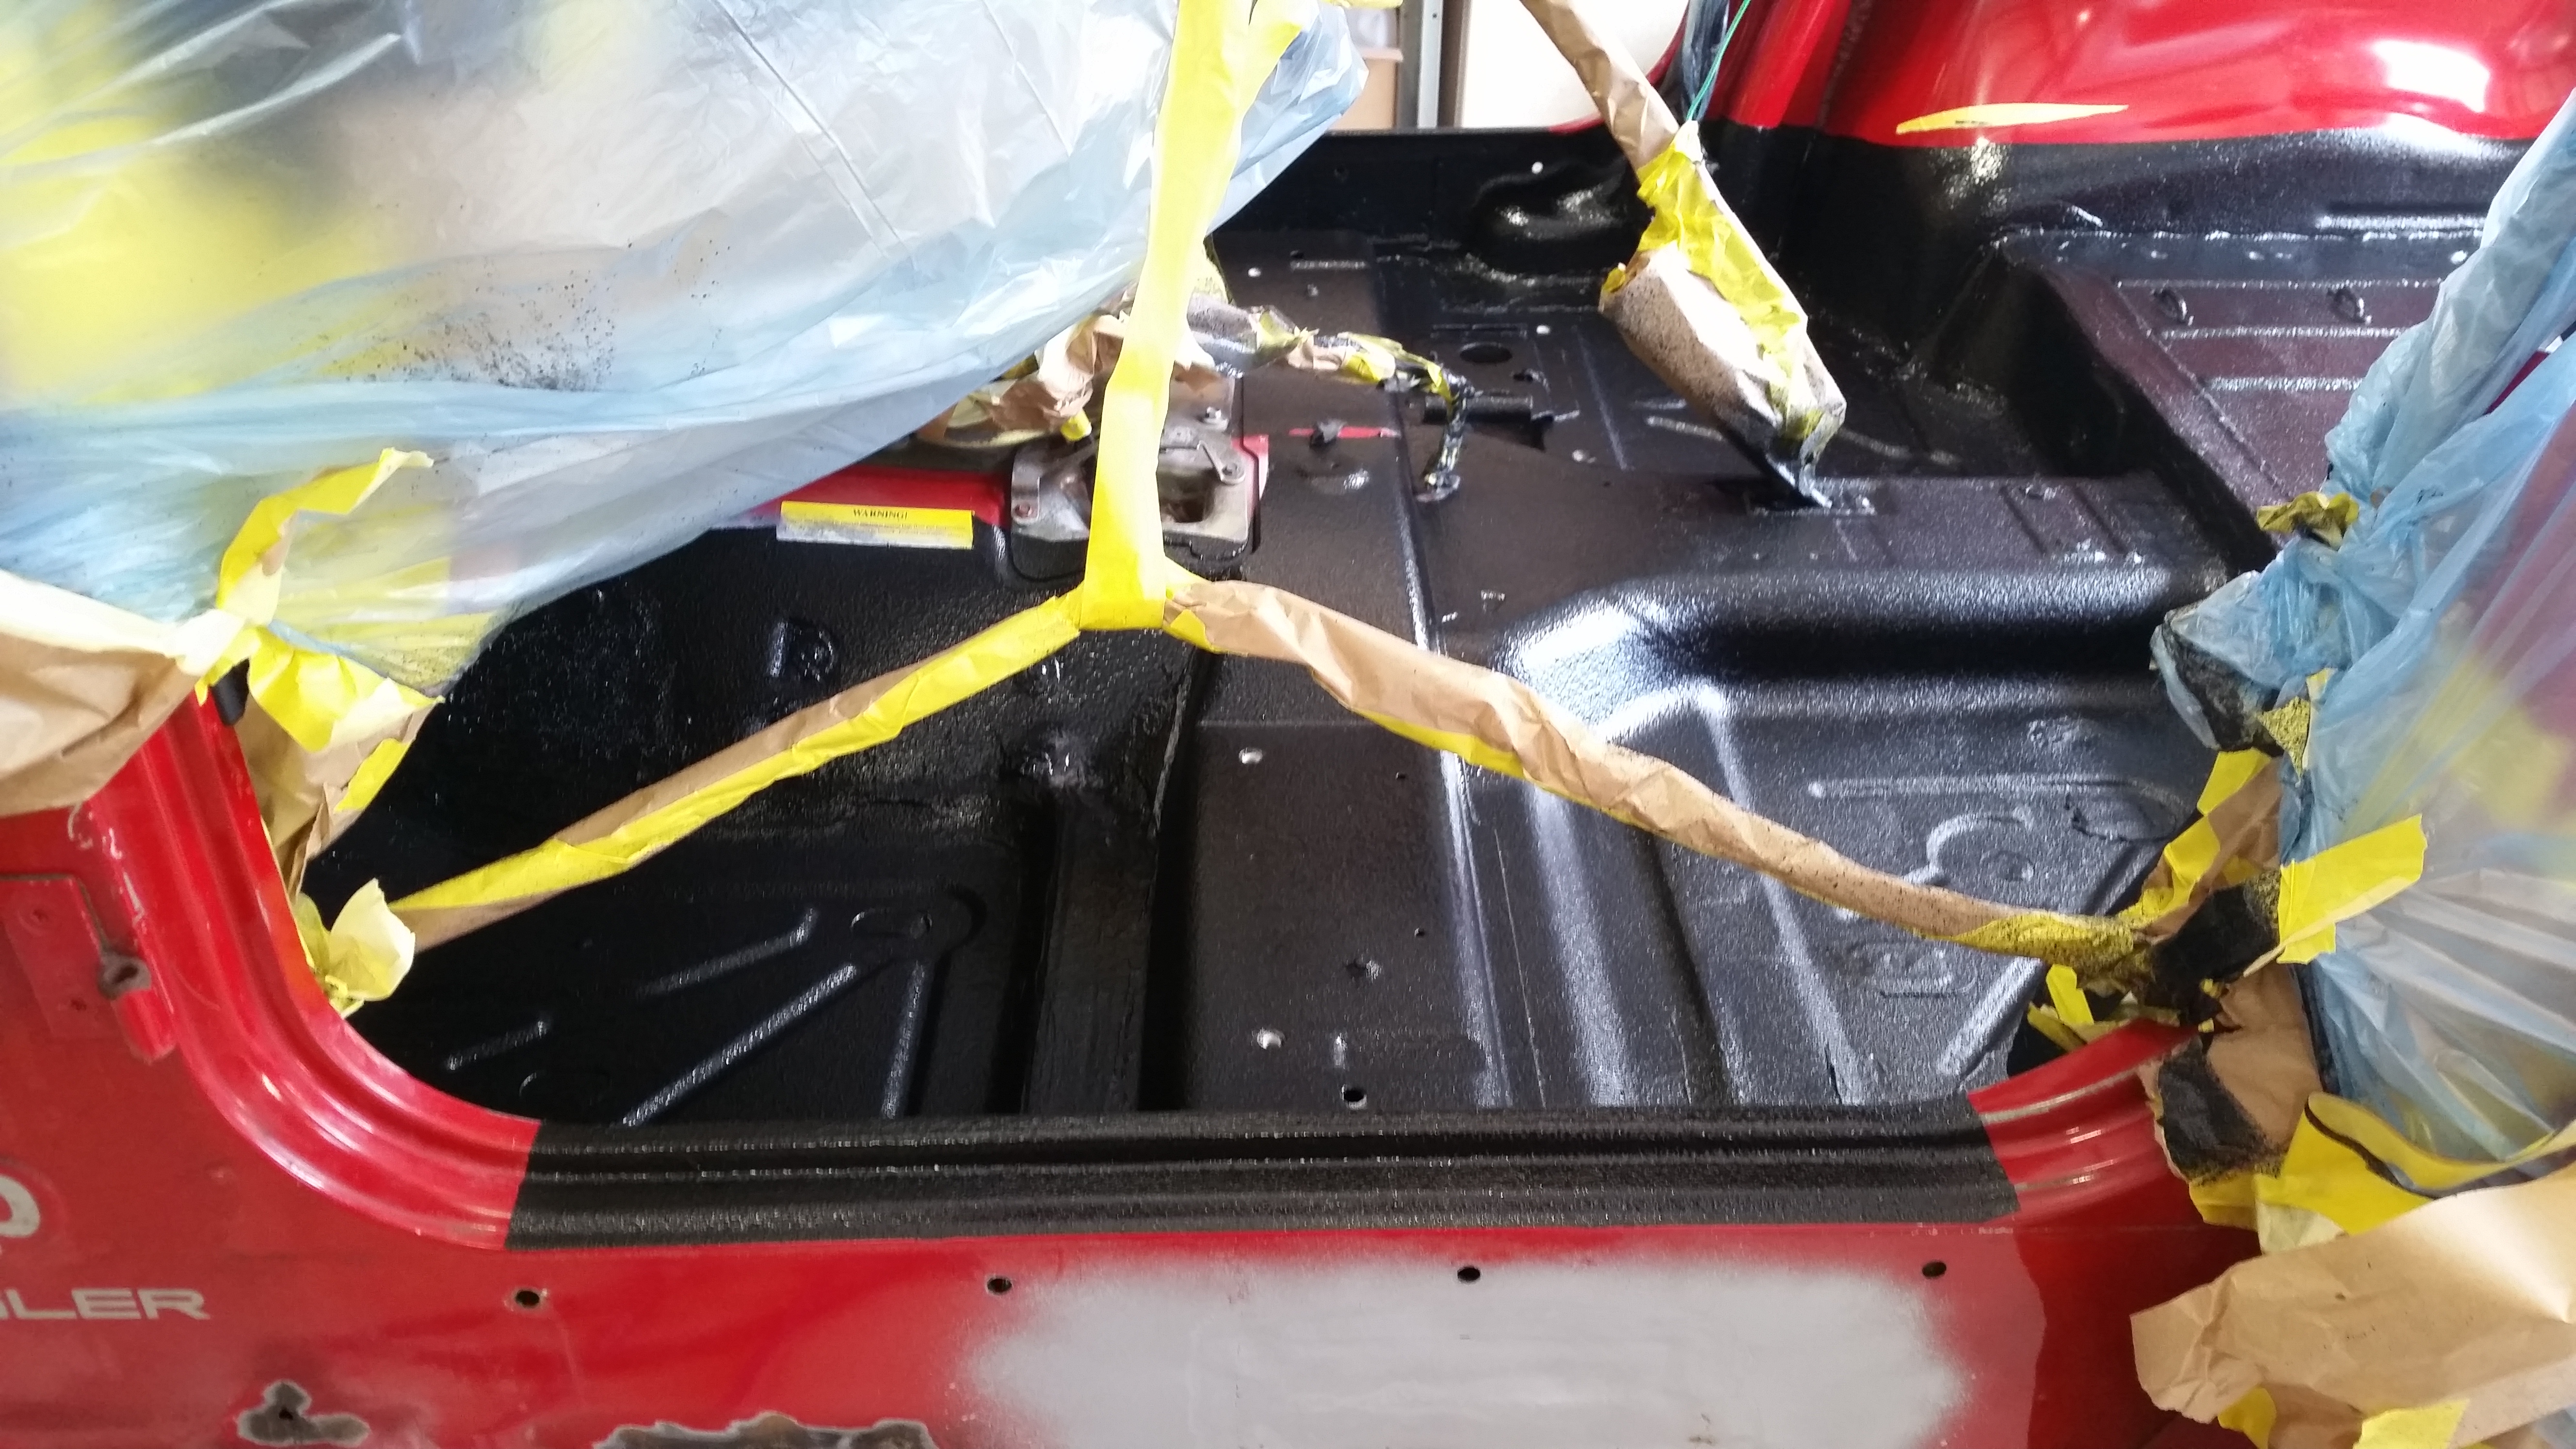
Fig. 48 2003 Wrangler TJ – Another view from the driver’s side.
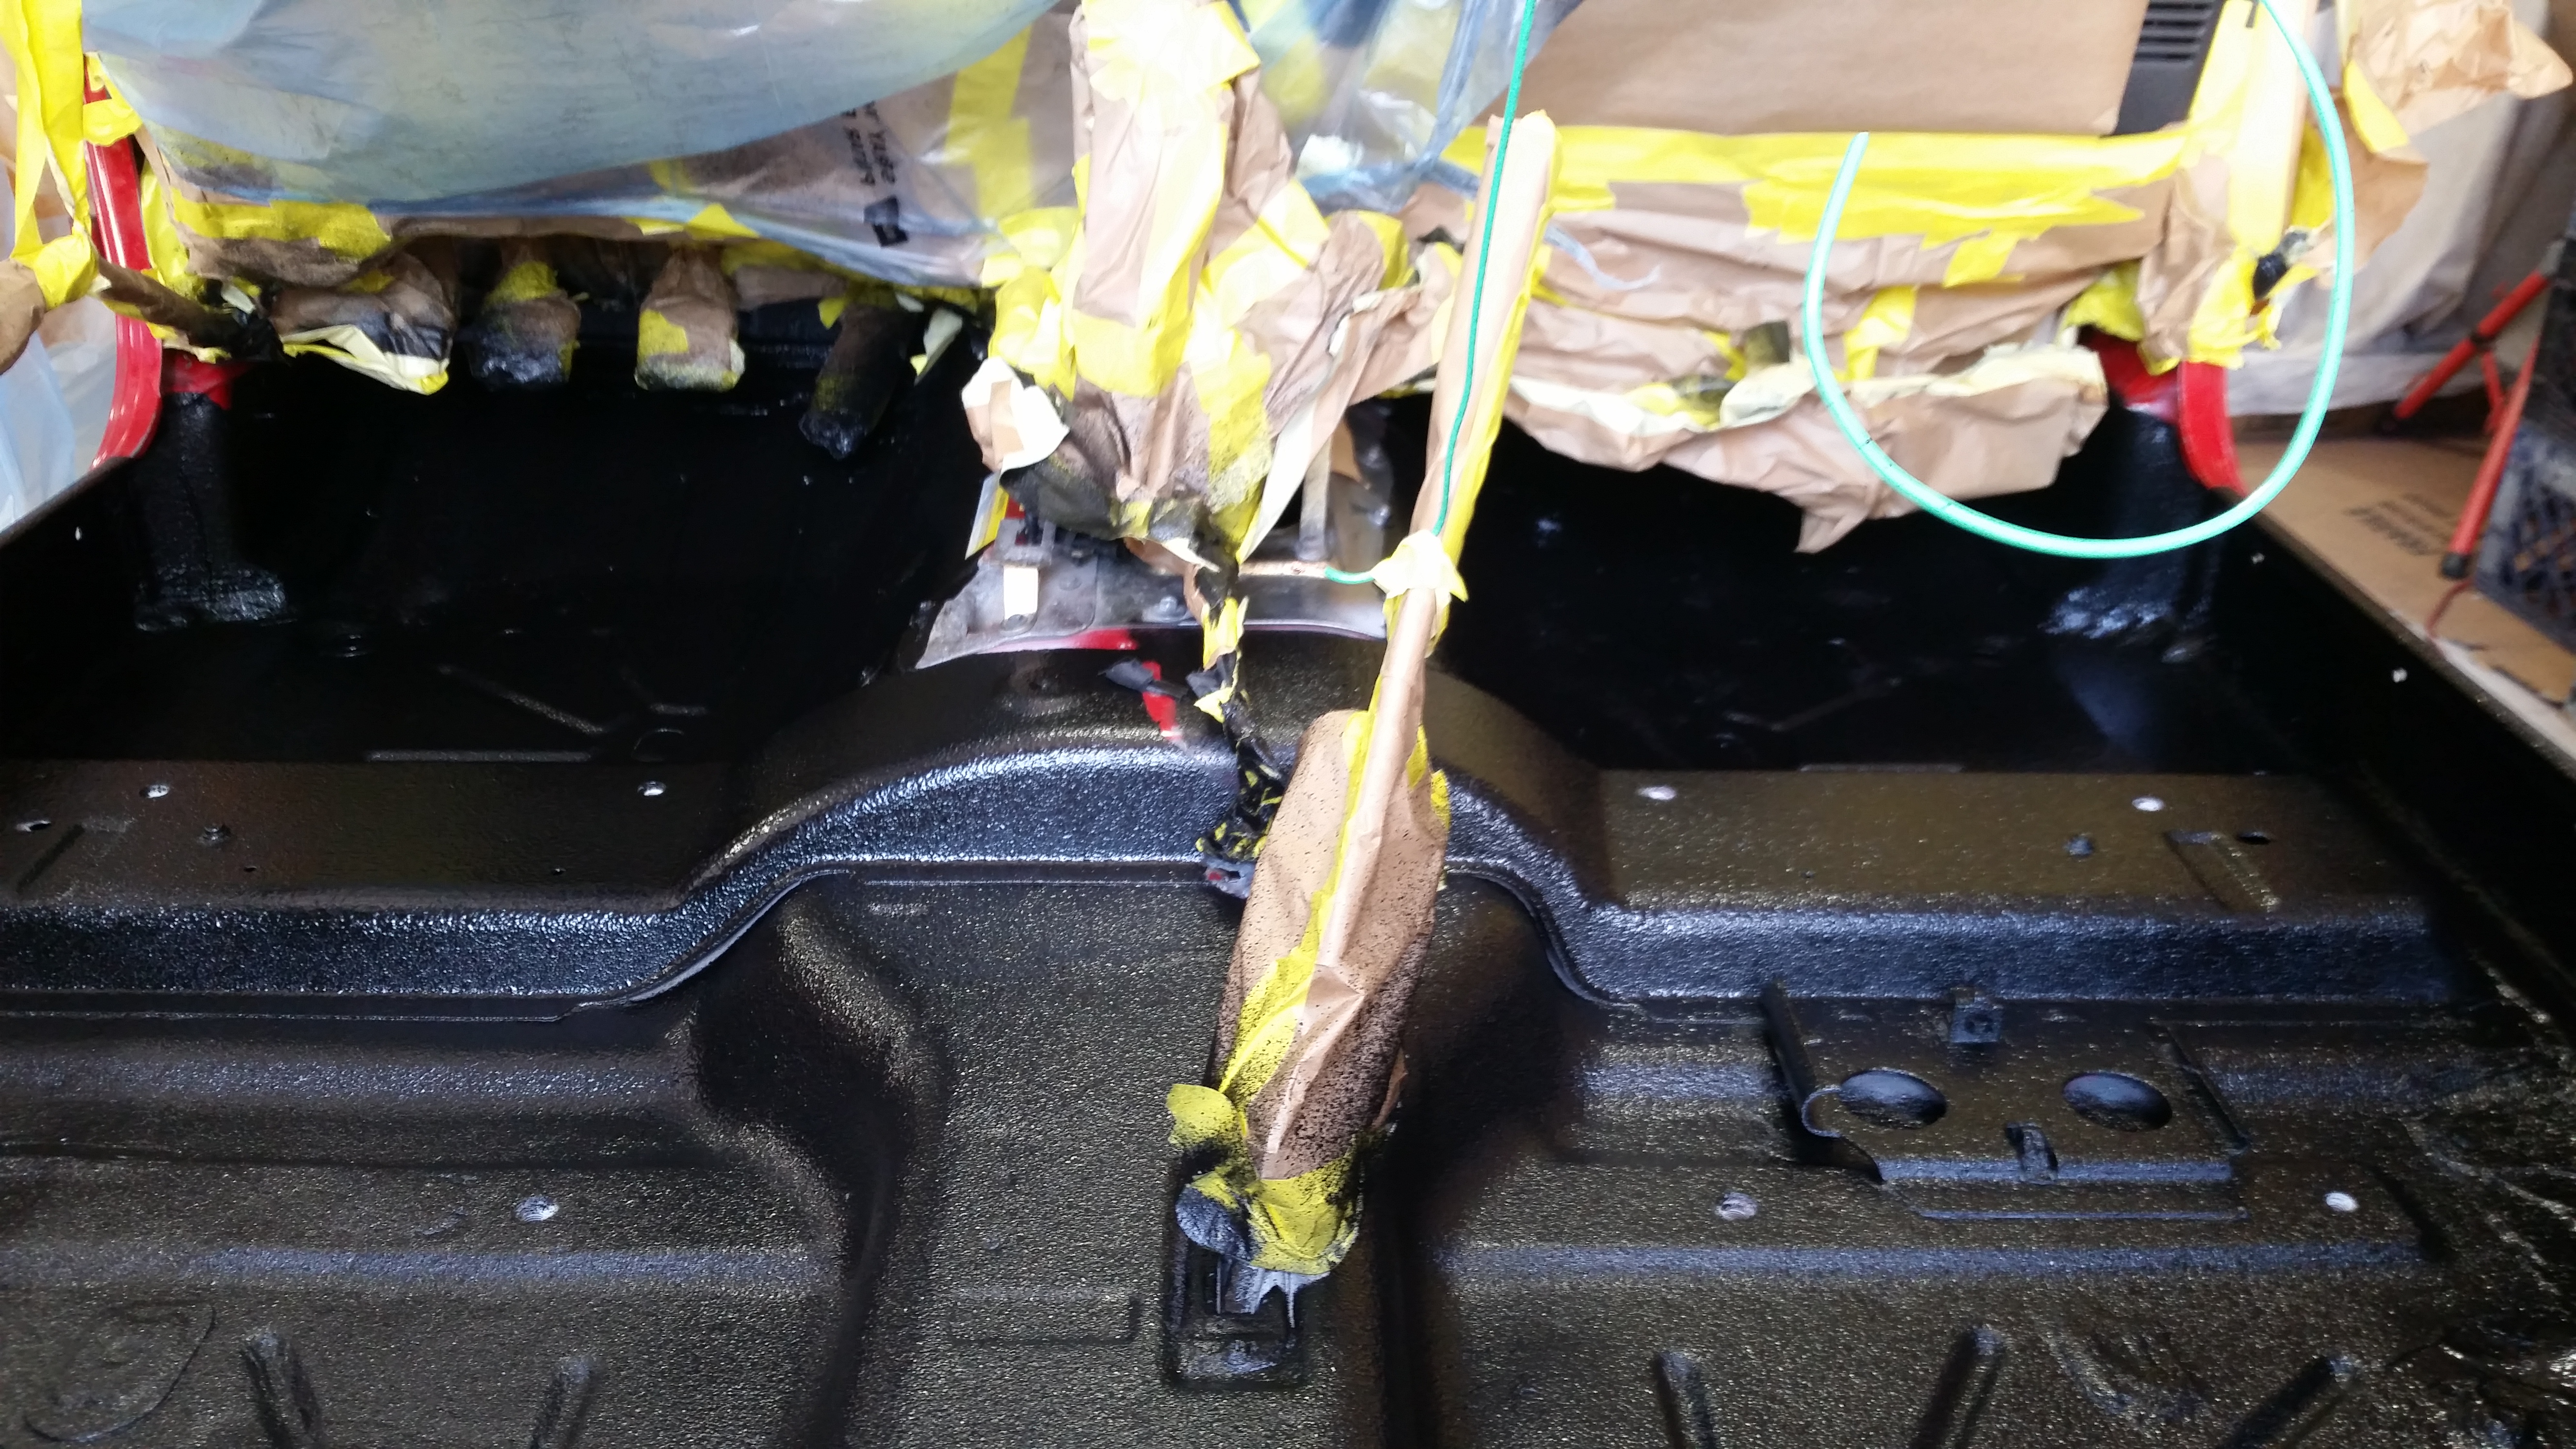
Fig. 49 2003 Wrangler TJ – View of the front cockpit. We also get crazy on our tape jobs, too.
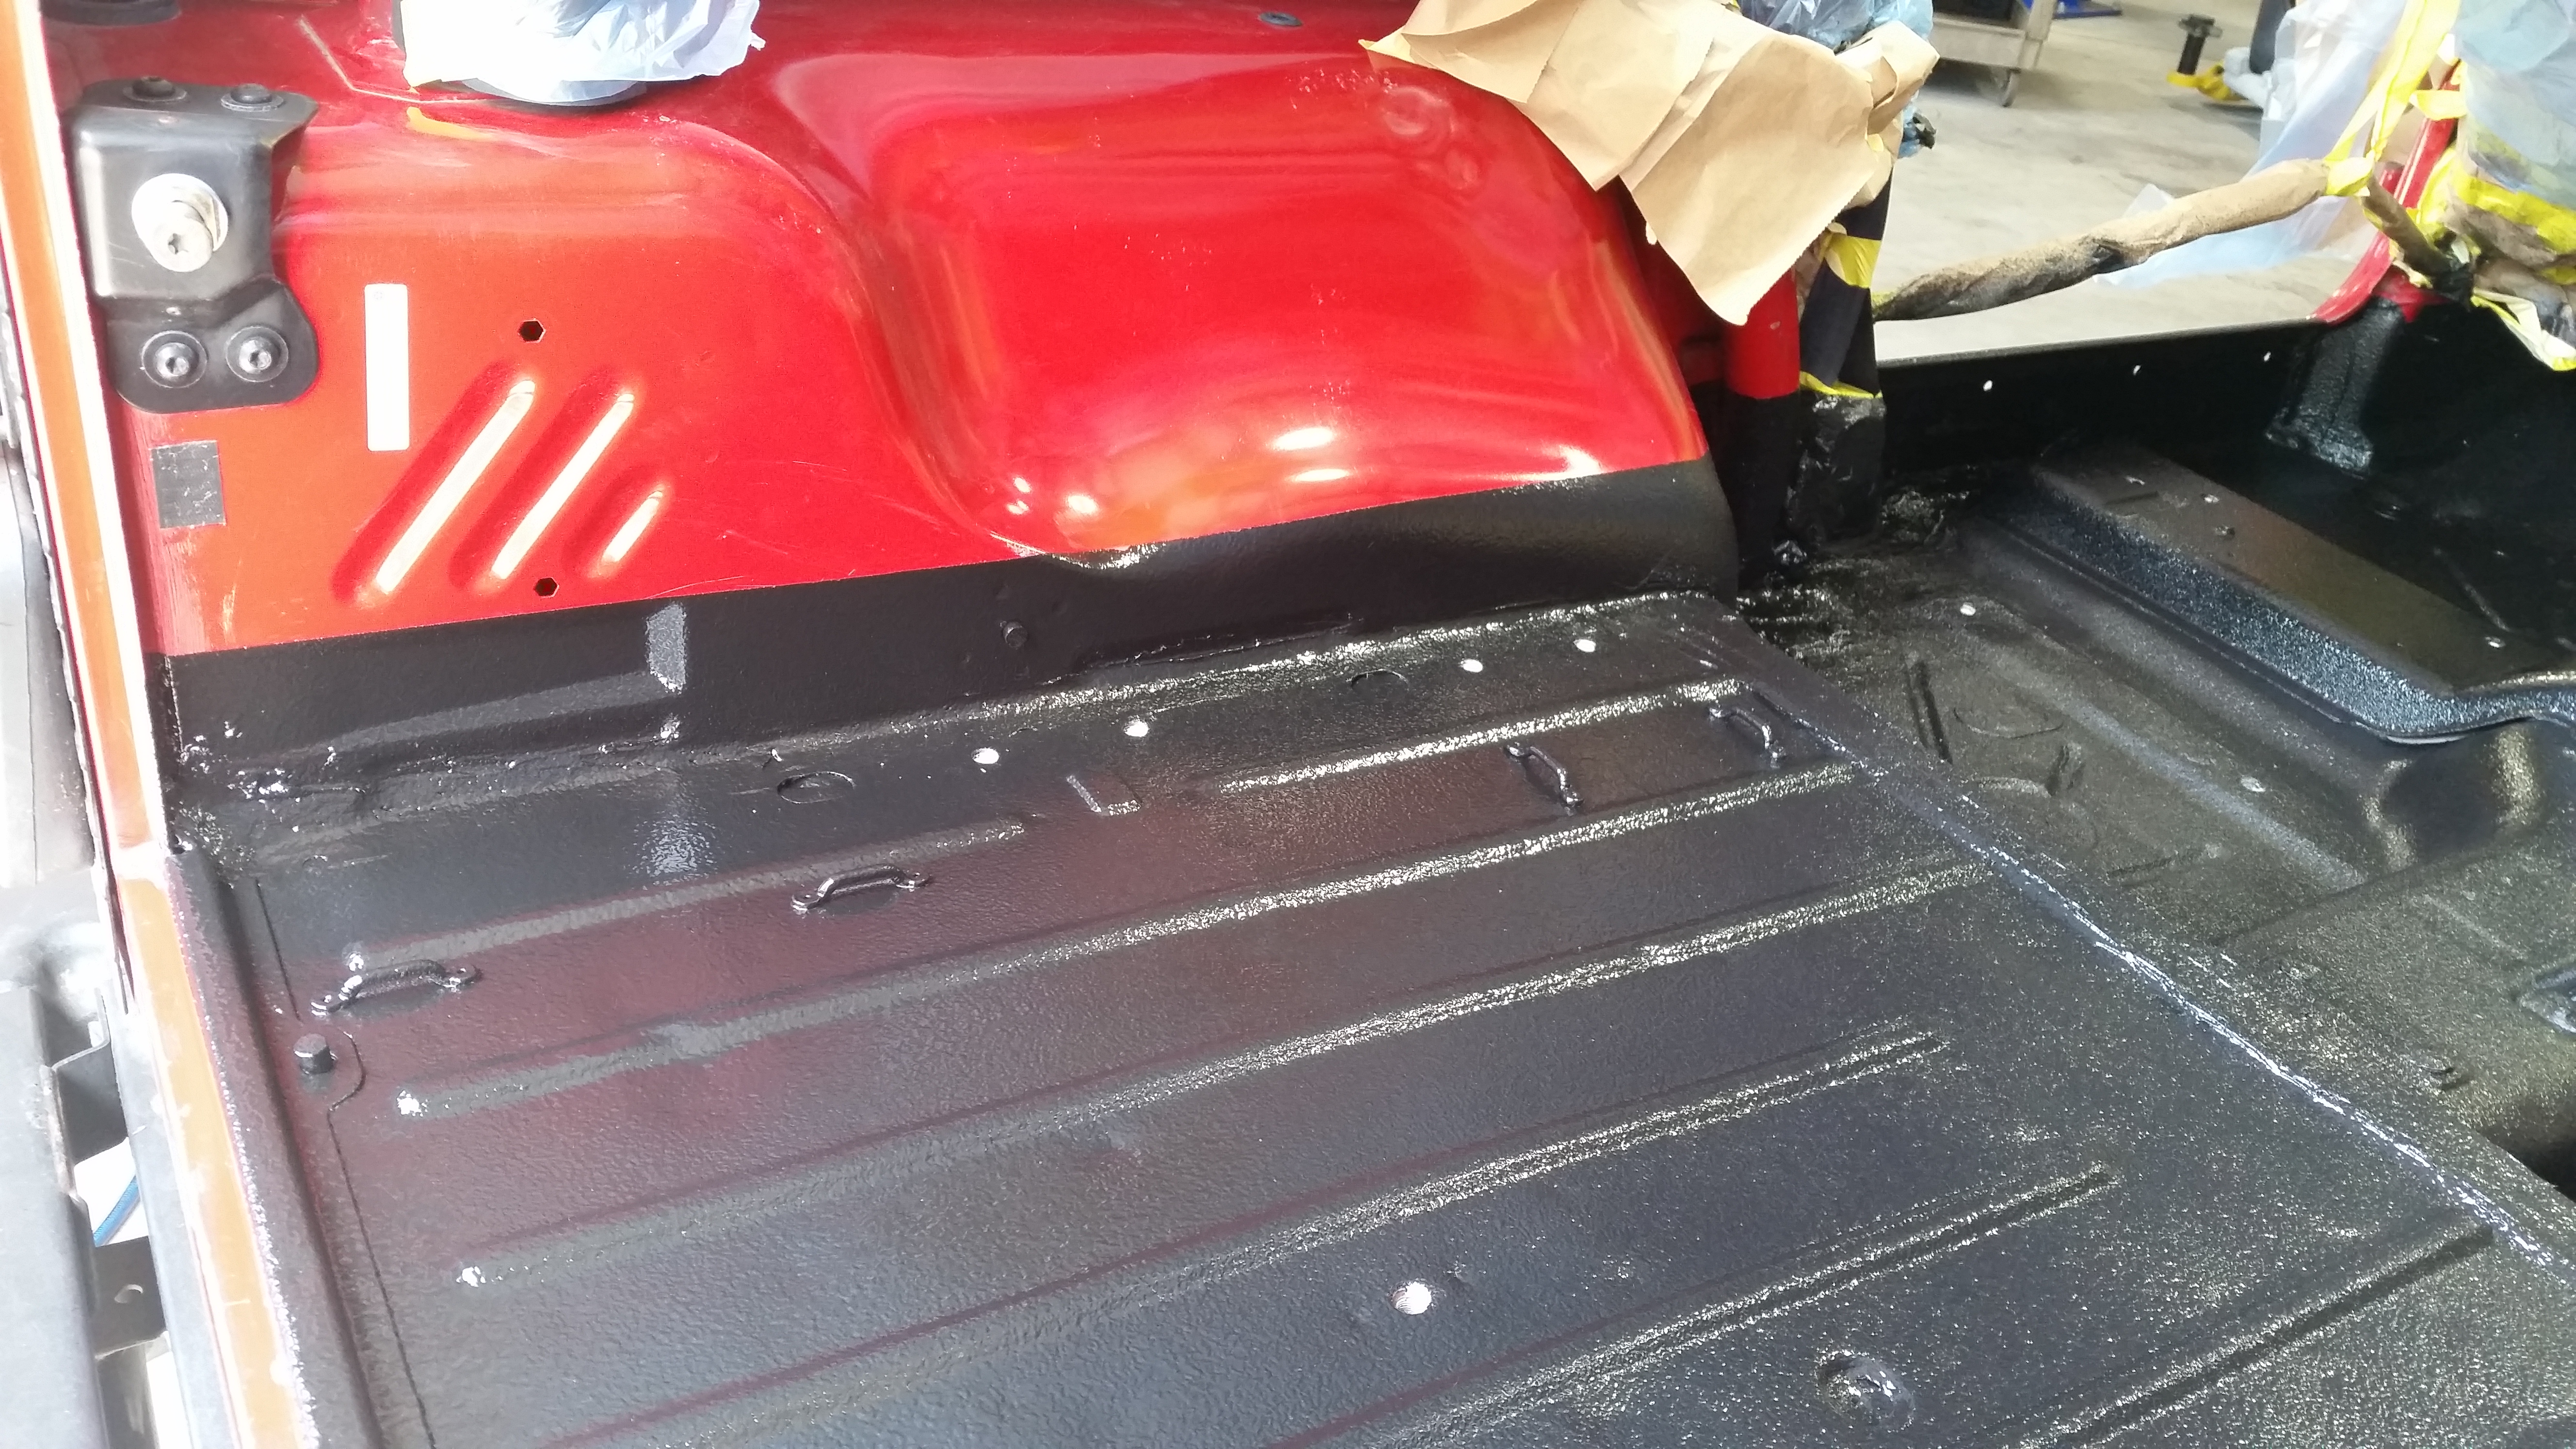
Fig. 50 2003 Wrangler TJ – Bedliner in the cargo area. What a difference!
16. Be sure to come back now and then to follow along on RED’s JOURNEY as we at WranglersDirect.com get her all ‘gussied-up’ for her next owner. You won’t find an 03 TJ (or likely any year TJ for that matter) in as good a shape as ours at WD. She’s FOR SALE now while we Wrehab her and can be customized to your particular vision of what RED would become if she were YOUR TJ or you can wait until we finish her (is that even possible?)…just call us at (401) 473-2119 or stop by and look her over at 43 Humbert St. North Providence, RI.
17. Well, as fate would have it, RED found a new home! We had almost finished her when her new owner came by and chose to take her home. We did a lot more work than what’s been shown here already and after giving her a fresh paint job, she really turned out FABULOUS!

Leave A Comment